******************************************************************************
I received an e-mail about a Blueberry Blogger Recipe Contest sponsored by the British Columbia Blueberry Council. It came at the perfect time because blueberry season is in full swing. I love eating blueberries on their own. Other than blueberry pie, I have to admit I don’t often cook with blueberries. After much thought, I thought I would submit a blueberry-centric pavlova recipe to the contest.

It is much debated whether pavlova hails from Australia or New Zealand, although it is agreed that it was named after a Russian ballet dancer named Ánna Pávlova. I was therefore quite amused that when I told my boyfriend A this, he thought it originated in Russia, considering his mother is from New Zealand! My first time trying pavlova was actually in Vietnam at an Australian restaurant with my best foodie friend, the Gastronomer!
Blueberry Pavlova – Serves 10-12
Pavlova’s traditionally consist of a meringue, topped with whipped cream and fresh fruit, commonly strawberries, kiwi's and passion fruit. On this occasion, I have combined it with a blueberry sauce and fresh blueberries. There may seem to be a few steps to this recipe but they're all relatively quick and easy, and definitely worthwhile!
Meringue - made 6 small ones and 1 large one
For the pavlova, you can make a great big meringue and slice it, or small daintier ones, served individually. On this occasion, I tried both!
I have experienced enough failures (like the time I used up 6 eggs for a meringue recipe that only called for 2) with whipping egg whites to share a few lessons:
* the eggs should be at room temperature – so leave them on the counter for a good hour before preparing your pavlova or you can even soak them in warm water beforehand.
* the bowls and tools you use should be clean - any residue will ruin your egg whites.
* the egg whites have to be separated without any egg yolk – so my tip is to separate your egg white into a separate smaller bowl. When you’re sure you’ve separated it properly (if not, use it in an omelet!), pour the egg white into a larger bowl and repeat with the next egg. This way you don't ruin your whole batch with one bad egg; there is nothing more upsetting than having to redo all of your eggs because the third egg white you added had a bit of egg yolk!
If you take these precautions, you shouldn’t have any problems - I didn't this time!
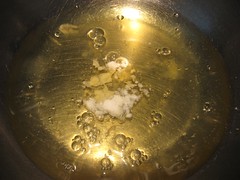
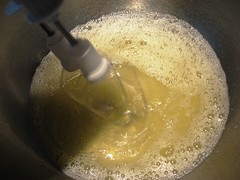
Top: Adding the cream of tartar and salt, frothy mixture means sugar can be added.
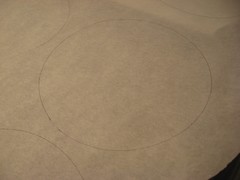
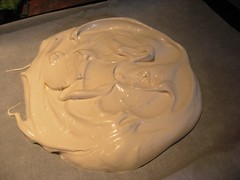
Bottom: Drawing circles and spreading the meringue.
* parchment paper and baking sheet
* 6 egg whites, at room temperature
* ½ tsp cream of tartar
* pinch of salt
* 1-¼ cup of granulated sugar
* 2 tbsp cornstarch
* ½ tsp vanilla extract
Lay parchment paper on a baking sheet.
Using a round bowl turned upside down, draw circles to use as a template for your meringue.
Add the cream of tartar and salt to your egg whites.
In a separate bowl, mix together the sugar and cornstarch
Beat the egg whites, using a handheld mixer or a stand mixer, for a few minutes until frothy (2-3 minutes) on medium-low speed.
Add sugar a spoonful at a time while still beating the egg whites, until incorporated and beat mixture on medium speed for 1-2 minutes.
Add the vanilla extract and continue beating on medium-high until stiff peaks are formed (4-5 minutes).
Using a rubber spatula (or a spoon), spread the egg whites onto your circular templates. (I made 6 small circular meringues and one large one on a separate baking sheet). The meringue layer should not be too thin since you want some body to the meringue.
Bake for 60 minutes at 250F. Add 10-15 minutes baking time for the larger meringue.
If you have time, allow the meringues to sit with the oven turned off for 2 hours to dry out the meringue.
Meringues can be made in advance the day before and stored in an airtight container.
Blueberry sauce
While pavlova's usually consist of meringue, whipped cream and fresh fruit, I thought an extra layer of blueberry sauce would add another component to the dessert! This blueberry sauce can be used in many other recipes: on top of crêpes, as a filling for turnovers or simply spread on toast. Lemon and blueberry go hand in hand so I added lemon zest for a bit of lemony flavour!
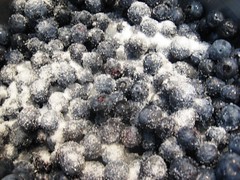
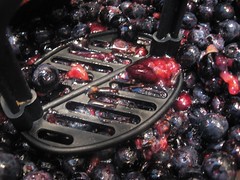
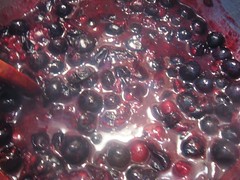
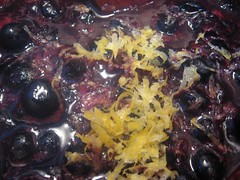
* 2 pint of blueberries
* 3-4 tbsp sugar
* zest of one lemon
In a small pot, add blueberries and sugar and heat up to medium-low.
Crush the berries with the back of a spatula (or I used a potato masher).
Let it simmer for 10 minutes until blueberries are cooked.
Add lemon zest.
Taste and add sugar/zest as required and turn off the heat.
This can also be made in advance and refrigerated.
Whipped Cream
You can make maple whipped cream or just use icing sugar. While you want egg whites to be at room temperature when whipping them, cream has to be cold for best results! Refrigerating the bowl you'll be using also helps.
* 1 cup heavy cream (35% fat), cold
* 3-4 tbsp icing sugar, to taste
* 1 tbsp vanilla extract
Whip the cream until soft peaks form.
Add icing sugar and vanilla and continue whipping until stiffer peaks form.
Store in the refrigerator until you need it.
To assemble the blueberry pavlova
This is for a blueberry pavlova but you can add any fruit to your liking! I alternated between the white and blue coloured ingredients for best visual effects.
* meringue
* blueberry sauce
* whipped cream, homemade or store-bought
* fresh blueberries
Place your meringue on a plate.
Spoon the blueberry sauce on top.
Layer the whipped crem with an icing spreader.
Add fresh blueberries on top.
Slice into wedges if you've made the large pavlova and serve.
Tada and enjoy!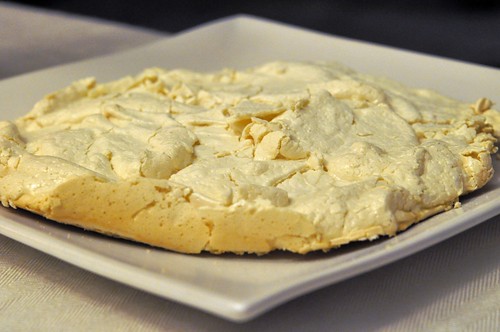
Starting with the large meringue.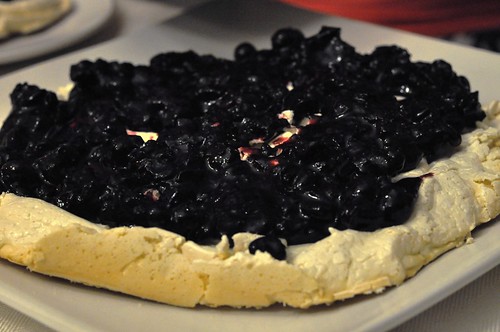
Blueberry sauce on top.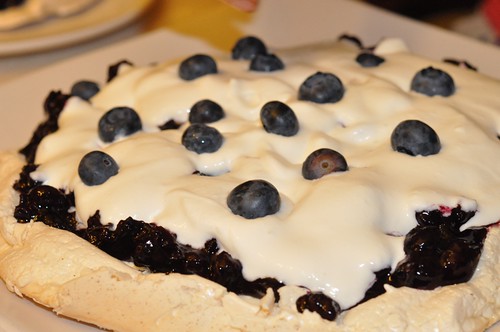
Now the whipped cream and fresh blueberries.
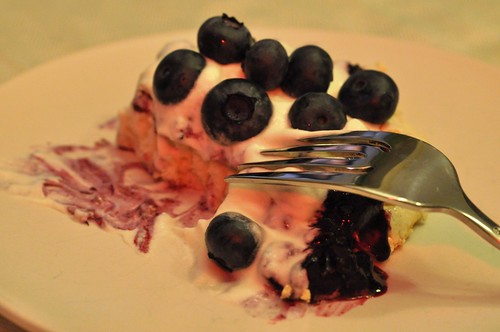
Enjoy it as a lice from a large pavlova.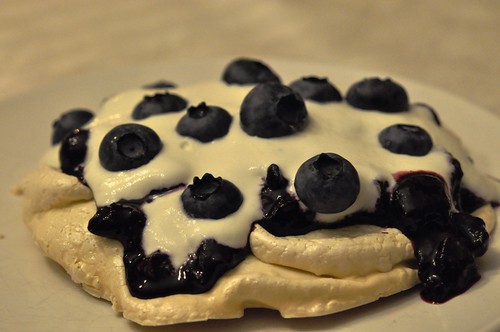
Or from a smaller individual portion.
I love this recipe for a number of reasons. I like the crisp on the outside, soft and chewy on the inside, meringue, combined with the thick blueberry sauce. The soft whipped cream and fresh blueberries add an element of coolness that's perfect for a summer dessert. You can prepare each component ahead of time and just assemble it for your guests. Finally, I think the different layers make it a very pretty dessert!
P.S. Thanks to A for being my personal photographer (first photo and the last 6)!
P.P.S. Thanks to my friends for being pavlova tasters!
For my other blueberry post (and it's a good one!):
* Frozen Blueberry Pie

This looks delectable! Long live the Pavlova :-)
ReplyDelete