Monday, November 8, 2010

Đậu Hủ Sốt Cà Chua (Tofu with Tomato Sauce)

I wanted to make a Vietnamese dinner for my boyfriend A and me. Since he's vegetarian, I decided to make đậu hủ sốt cà chua (tofu with tomato sauce). This is a dish my mom often made with rice. It consists of fried tofu, topped with a tomato sauce. It's funny because in Western cuisine, tofu has become an alternative for meat. In Asian cuisine, tofu is just another ingredient so it is often paired with meat. However, this dish is vegetarian (although my mom makes a similar dish with tofu stuffed with meat).

I am hosting the 7th edition of Delicious Vietnam, a monthly food blogging event created by A Food Lovers Journey and Ravenous Couple, to highlight Vietnamese cusine. Look for the round-up next week!

Tofu with Tomato Sauce

Đậu Hủ Sốt Cà Chua (Tofu with Tomato Sauce) - Serves 4

For the tomato sauce
This sauce is super easy to make. It has a bit of sweet (from the added sugar) & sour (from the tomatoes) flavours going. My mom also likes to serve fried fish with this tomato sauce.

* oil
* ½ onion, diced small
* 1 garlic clove, minced
* 4 plum tomatoes, diced
* salt, to taste
* black pepper, to taste
* 1-2 tbsp sugar, or to taste

In a pan, heat up some oil.
Add the onion and garlic until softened.
Add the tomatoes and cook on medium heat.
Season with salt, pepper and sugar to taste (I like the sauce on the sweet side so I do add a good amount of sugar).
Cook for 10-15 minutes, until the tomatoes are cooked and have broken down a bit, resulting in a thick tomato sauce.
Taste and adjust seasoning.
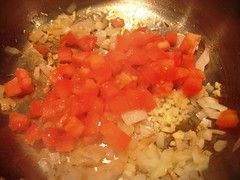
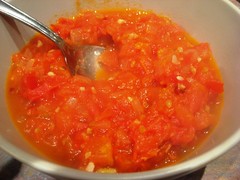
Cooking tomatoesTomato Sauce

For the tofu
You can prepare the tofu while the sauce cooks down.

* 1 package (1 lb) firm tofu
* salt
* minced lemongrass (I buy it frozen)

Slice the tofu into ½" thick slices.
Pat each slice of tofu dry with a paper towel (it will help the tofu crispen when you fry it).
Season liberally with salt and lemongrass. (Since tofu doesn't have much taste, I try to coat each slice to make sure each is properly seasoned.)
In a pan, heat oil.
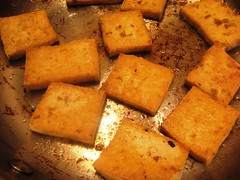
Fry the tofu about 3-4 minutes on each side, until nicely golden brown.
Top the tofu with the tomato sauce.
Serve with rice.
Tada!
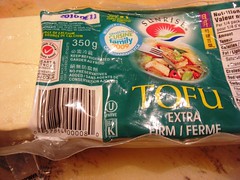
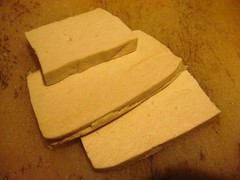
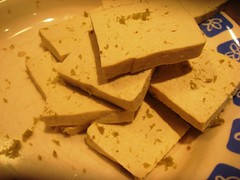
Extra firm tofu Tofu Slices
Seasoning the tofu Frying the tofu
Preparing the tofu.

If you would like to join in this blogging event, please e-mail me at Miss.Adventure[at]live[dot]com, making sure to include “Delicious Vietnam” in the subject line before the end of the day on Sunday, November 15 (sorry for the short notice!). Please include the following information:
• Your Name
• Your Blog Name/URL
• Your Post URL
• Your Location
• Attach a photo (300 pixel wide, please)

Entries to Delicious Vietnam must be written specifically for this event only. Of course, do submit your photos to photo sites and events. Please make sure that your post contains the phrase Delicious Vietnam with a link to the host (Miss.Adventure at Home), and to the two founders (A food lover’s journey and Ravenous Couple). If you use Twitter, please include the tag #deliciousvietnam in your post.

Wednesday, November 3, 2010

Rice Indian Cuisine (Burlington,ON)

4460 Fairview Street
Burlington, Ontario
905.681.3301
website

Two of my co-workers, R & K, had been raving about an Indian restaurant near our office. Rice Indian Cuisine serves a lunch buffet for $8.99. About a month ago, we headed there with my colleague K, for R's birthday and had a marvelous lunch. I was lucky enough to be taken out for my birthday last week and we decided to return to Rice with 2 more colleagues!

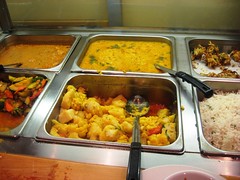
Rice Indian Cuisine Buffet

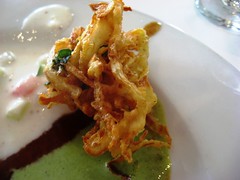
Rice is situated in a nondescript plaza (steps away from another favourite Bahn Thai), and keeps very busy with office workers at lunch time. While lower quality food may come to mind when thinking of Indian buffets, the food is actually quite good and fresh. All the curries were delicious. Most importantly, the naan bread was hot and passed the freshness test! Even the pakoras were crispy!

Buffet Dish
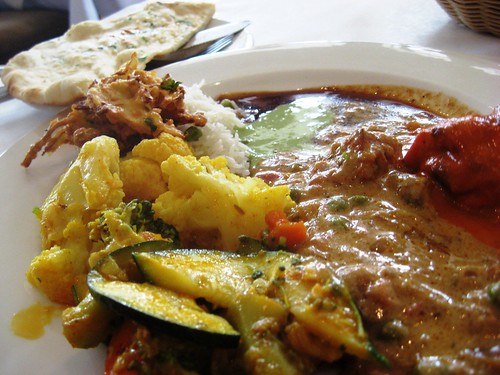
My full plate (and no, I did not just have one!).

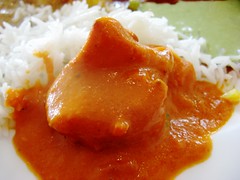
My favourite curry, that I kept thinking about after my first visit, was the mushroom matar, mushroom and peas in a cashew, onion and tomato gravy. Pieces of mushrooms and peas swim in a rich sauce with fried onions. What's not to like? I will definitely be attempting to replicate this dish in the near future! Other curries that I enjoyed: aloo ghobi (cauliflower and potatoes), mixed vegetables (with a good spicy kick) and butter chicken.

Pakora Butter Chicken
Naan Bread
Pakora, butter chicken and tasty naan bread!

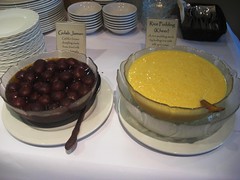
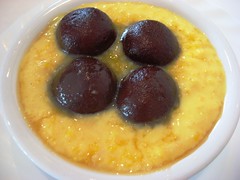
Not only were all the savoury dishes excellent, but Rice also serves two of my favourite Indian desserts (really the only two I know and like...). With R & K's influence, we combined the gulap jaman (donut-like dumplings in syrup) on top of the rice pudding. While the gulap jaman's are good, I just love the rice pudding. It's rich and creamy but not too sweet: my perfect dessert. (Side note: you don't even want to know how many jokes about balls were made. Yes, we were all women...)

Indian Dessert Time Indian Dessert Time
Gulap jaman and rice pudding.

Rice Indian Cuisine has great food, and at $8.99 for lunch, offers great value. I was harshly reminded yesterday that not all Indian buffets offer good food (unfortunately, my poor boyfriend A and I did not have such good food at another Indian restaurant). My only word of advice is to wear comfy pants when you visit, because you won't be able to stop eating!!

Rice Indian Cuisine on Urbanspoon

Sunday, October 31, 2010

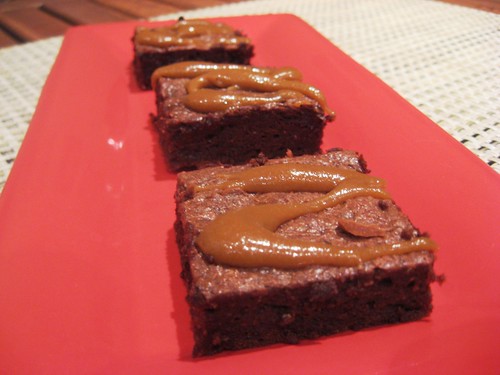
Low-Calorie Brownies With Butterscotch Drizzle

I read the various Glamour blogs daily and stumbled into this recipe on Vitamin G, Glamour's health blog. I'm not a big "sweets" person so I actually really enjoyed these. I could see some thinking it's not rich enough. I inadvertently made this recipe even more healthy by forgetting the granulated sugar. I still liked it but would add the sugar next time. On top of the brownies is drizzled butterscotch. After my caramel disaster, I made sure I was successful on my first try.

Low-Calorie Brownies With Butterscotch Drizzle

Brownies With Butterscotch Drizzle
Adapted from Glamour's Vitamin G.

* 4 tablespoons (½ stick) unsalted butter, more for buttering the pan
* 2 ounces unsweetened chocolate, chopped
* ¼ cup low-fat sour cream
* ½ cup light brown sugar
* 2 large eggs
* 1 tablespoon vanilla extract
* ½ cup whole-wheat flour
* ¼ teaspoon salt
* ½ cup bittersweet chocolate chunks or chips
* ½ cup butterscotch chips
* 2 teaspoons 1% low-fat milk

Preheat oven to 325°.
Line an 8-inch baking pan with parchment paper.
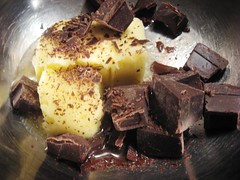
Melt butter with chocolate in a medium saucepan over low heat.
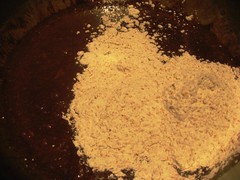
Remove pan from heat, and stir in sour cream, sugars, eggs, and vanilla until well-combined. Stir in flour, salt, and chocolate chips (I added a few spoonfuls of Nutella for extra flavour).
Pour batter into prepared pan.
Bake in middle of oven until a toothpick comes out clean (about 25 minutes).
Baked for 25 minutes only with parchment paper.
Cool brownies in a pan; cut into 16 squares.
Top each brownie with a drizzle of butterscotch - recipe below.
Tada!

Chocolate & Butter Adding flour
Adding chocolate

Butterscotch
Adapted from this how-to make butterscotch. I quartered the recipe since you don't need that much to drizzle the brownies. However, make the whole recipe to top ice cream or just enjoy on its own...!

* 1 tablespoons salted butter
* ¼ cup of tightly packed dark brown sugar
* 3-4 tbsp heavy whipping cream (not ultra-pasteurized)
* ¼ tsp vanilla extract
* 1 teaspoon kosher salt

In a small saucepan, melt butter over low to medium heat.
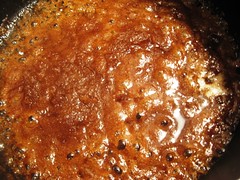
Just before butter is melted, add all dark brown sugar at once and stir with wooden spoon until sugar is uniformly wet (picture 1).
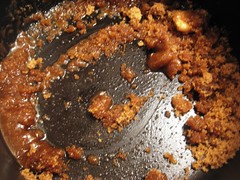
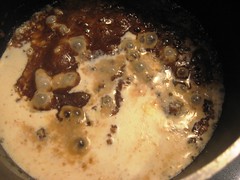
Stir until mixture goes from looking grainy to molten lava (about 3-5 minutes) (picture 2).
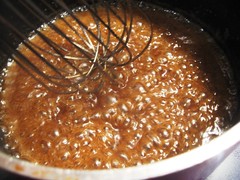
When the caramelizing brown sugar will begin to look and feel more like liquid and less like thick wet sand, add all the cream at once and replace your spoon with a whisk (picture 3).
Lower heat a little and whisk cream into mixture.
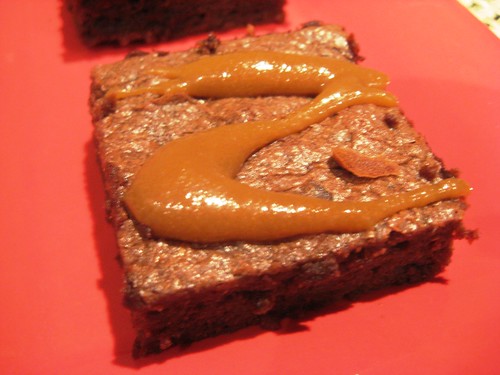
When liquid is uniform, turn heat back to medium and whisk every few minutes for a total of 10 minutes (picture 4).
After liquid has been boiling on the stove for its 10 minutes, turn heat off and let rest for a minute or two before transferring into a heatproof storage vessel.
Cool to room temperature.
When butterscotch liquid is room temperature, whisk in vanilla extract.
Taste again, adding more vanilla extract and/or salt until the marvelous taste of real butterscotch is achieved.
Chill butterscotch sauce in a non-reactive container with a tightly fitting lid only after sauce has chilled completely. (It will keep for one month refrigerated.)

Butter & Brown Sugar Until it bubbles
Add cream Whisk into butterscotch
Steps to making butterscotch sauce.

The rich butterscotch sauce was a really nice addition to the brownie. It was easy to make as long as you are patient and I can't wait to make it again. I found it also makes a nice visual addition to the brownie. I would definitely make this again!

Low-Calorie Brownies With Butterscotch Drizzle
Low-Calorie Brownies With Butterscotch Drizzle.

Friday, October 29, 2010

Vegetable Tajine

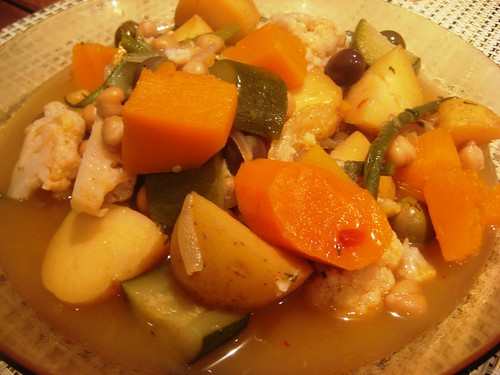
I remember being really happy with the chicken tajine I had previously made. I was inspired to make a vegetarian version by my visits to Moroccan restaurants (Au Tarot and Rumi) and to Morocco. It seems the vegetables always come in large chunks, cooked so they're soft. I like the combination of tartness and saltiness from the lemons and olives.

Vegetable Tajine

Vegetable Tajine - Serves 3-4
You can obviously use the vegetables of your choice but I tried to use those I had encountered in tajines. The addition of chickpeas add protein to the meal.

* olive oil
* 1 small onion, sliced thinly
* 1 garlic clove, minced
* ½ tsp cumin
* ½ tsp nutmeg
* ¼ tsp cardamom
* ½ tsp dried chili flakes
* ½ L of vegetable broth
* ½ L of water
* ½ lemon, sliced thinly
* ½ can of green olives, chopped
* vegetables of your choice, cut into chunks (carrots, potatoes, butternut squash, zucchini)
* a few cauliflower florets
* a small handle of green beans
* a small handle of chickpeas
* salt and pepper, to taste

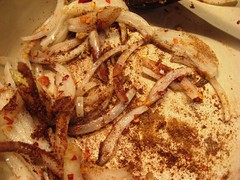
In a large pot, on medium/high heat, cook onion slices in olive oil.
Add the garlic and spices and cook for 3-4 minutes.
Pour the vegetable broth and water.
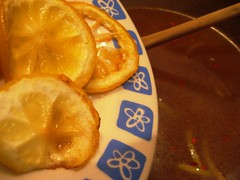
Add the lemon slices, olives and vegetables that take longer to cook (carrots, potatoes, squash).
Bring to a boil and lower to a simmer.
Later, add the zucchini, cauliflower florets, green beans and chickpeas.
Cook for 1 hour, with the lid on.
Taste and adjust seasoning (salt and pepper).
Serve with couscous (I had it with minty couscous and raisins).
Tada!

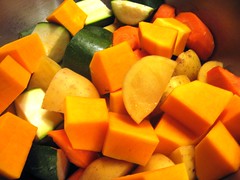
Onion and Spices Adding lemons
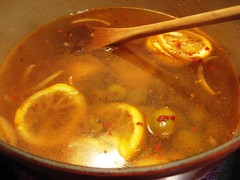
Cooking tajine Adding Vegetables
Cooking a tajine.

While I really enjoyed the tajine on the day I made it, I liked it even better on subsequent days. Not only is it nice to come home and not have to cook, but it's healthy and the flavours are so vibrant. Delicious and no guilt at all!

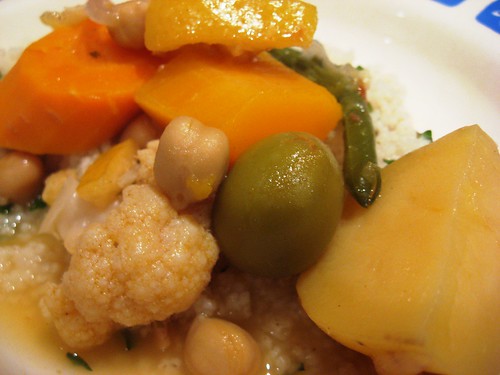
Vegetable Tajine

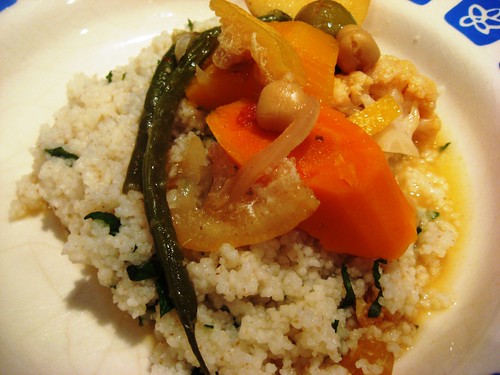
Tajine on Couscous
Served with couscous with mint and raisins.

Wednesday, October 27, 2010

Couscous with Mint and Raisins

This recipe could not be simpler. Couscous. Boiling Water. Raisins. Mint. Maybe some salt. I'll still write a "recipe" below. I pre-soaked the raising in boiling for a few minutes and I found that it really helps plump the raisins up. I served this couscous with a vegetable tajine that will be the next post!

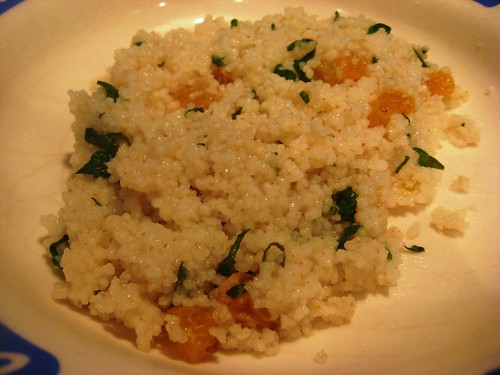
Couscous with Mint and Raisins

Couscous with Mint and Raisins

* 1 cup couscous
* handful of raisins
* 1 cup boiling water, plus more to plump raisins
* couscous
* mint, leaves picked and chopped
* salt, to taste

Soak the raisins in a small bowl of boiling water for 10 minutes.
Drain and set aside.
In a large bowl, add the couscous.
Slowly add the water and fluff with a fork.
Add more water as required, a bit at a time. Covering the couscous also helps allow the heat to remain and the couscous to absorb the broth.
Add the raisins and mint.
Mix in.
Season
with salt.
Tada!


Couscous with Mint and Raisins
Minty couscous with Raisins.

The mint from my garden was a refreshing addition. I liked the sweetness of the raising contrasting with the savoury flavours. It was a perfect accompaniment for the tajine.

Monday, October 25, 2010

Red & White Quinoa Mushroom Risotto‏

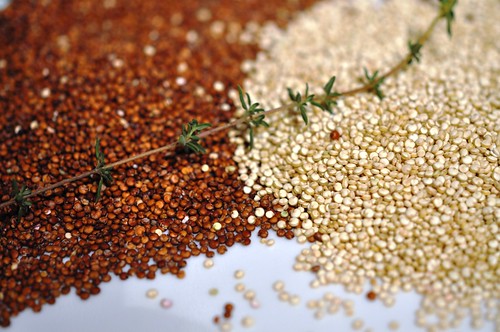
Quinoa is considered a complete protein, meaning it provides all 9 of the amino acids crucial to human function. It is the only plant based protein to do so. There are two varieties of quinoa: red and white. I found quinoa in the organic section of my grocery store. Also, if you're in Canada, you can buy both white and red quinoa in bulk at Bulk Barn. It's a tiny grain and once you cook them, you can see a spiral shape form.

Red & White Quinoa

For November's Quinoa Salad contest, from 20 minute supper club challenge, I decided to attempt a quinoa "risotto" (By the way, if you haven't had a chance, please vote from my October submission: pesto goat cheesy pasta - it's the first recipe at the bottom and I need your help!). I used mushrooms since it seems like a perfect ingredient for fall, but you could replace them with another vegetable of your liking. Roasted squash would also be a perfect fall addition! The vegetables have to be cooked beforehand and added at the end.

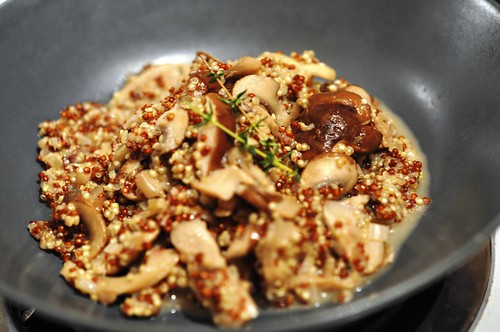
Red & White Quinoa Mushroom Risotto‏


Red & White Quinoa Mushroom Risotto - Serves 4

Cooking Mushrooms
I use the same method whether I'm preparing mushrooms for soup, pizza or ravioli. Thyme combines so well with mushroom.

* oil
* 1 shallot, diced small (or ½ onion)
* 2 handfuls of your favourite mushrooms, sliced
* 2 thyme sprigs
* Marsala wine (optional)
* salt and pepper

In a large saucepan, heat up the oil on medium heat.
Add the onion and garlic and cook until softened, about 1-2 minutes.
Add the mushrooms and thyme leaves.
Season with salt and pepper.
Add marsala wine if using.
Once the mushrooms are cooked, set aside.

Mushrooms Mushrooms
Cooking mushrooms: button, shiitake and oyster mushrooms.

Cooking the quinoa
* 2 cups vegetable both
* 1 tbsp butter
* 1 shallot, diced small (or ½ onion)
* 1 cup quinoa, red or white (or both!)
* ¼ cup Parmesan cheese, grated
* mushrooms, cooked (see below - or any other vegetable of your choice!)
* truffle oil (optional)

In a small pot, heat up the vegetable broth. (For extra mushroom flavour, you can add dried mushrooms to the broth).
In a large saucepan, add butter.
Add shallot and cook until softened.
Add the quinoa, and mix, making sure the quinoa gets coated with the butter.
Add a ladle of broth, adding more as the broth evaporates.
Add Parmesan and mix.
Add the cooked mushrooms.
Finish with a drizzle of truffle oil if using.
Tada!

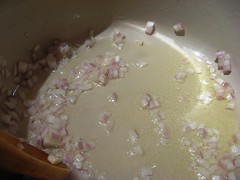
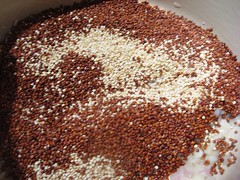
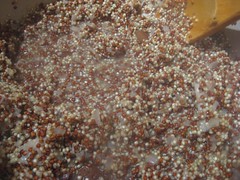
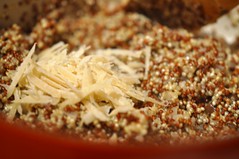
Cooking Quinoa Cooking Quinoa Cooking Quinoa Adding cheese
Making quinoa "risotto".

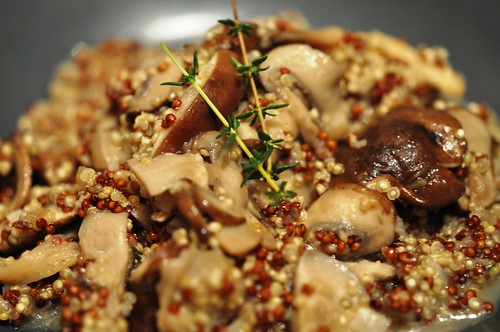
Although I followed the risotto cooking method, the result is not quite risotto like. Instead, quinoa retains its crunchiness, and doesn't have starch like rice to make the "risotto" thick. However, the resulting dish was still very tasty. I love the mix of red and white colours from the two types of quinoa. Considering quinoa's properties, it's also a very healthy dish!

Red & White Quinoa Mushroom Risotto‏
Quinoa and mushroom goodness.

Friday, October 22, 2010

Lemon Hazelnut Tiramisu

I borrowed Giada de Laurentiis' latest cookbook Giada at Home. It's a beautiful book with lots of pictures, that focuses on Italian and Californian recipes. Luckily, many of the recipes are also featured on her TV show of the same name and so can be found online on foodtv.com.

One recipe that I really wanted to try was the lemon hazelnut tiramisu. I'm not really sure what attracted me to it. Maybe the combination of lemon and hazelnut that I thought my mom would love? Or that the recipe requires no cooking? I also love the use of lady fingers in tiramisu that transform dry, hard cookies into a cake-like texture.

Lemon Hazelnut Tiramisu

I also get excited trying new ingredients and got my first taste of Frangelico, a hazelnut liqueur. It's imported from Italy so it's a bit pricey but totally worth it! The hazelnut flavour totally comes through.

Lemon Hazelnut Tiramisu - Serves 10-12

Adapted from Giada De Laurentiis.
From the picture on foodtv.com, Giada makes this in a trifle bowl. However, I liked making it in a long baking dish and slicing it to make it look like a slice of cake!


Lemon and Hazelnut Syrup
I highly recommend making a larger recipe of the lemon syrup using the same proportions. Maybe one and a half recipe. We had just enough syrup but you really want enough to dip in the lady fingers. If there isn't enough, the lady fingers will be dry and you want them moist so they turn into that cake-like texture!

* ¼ cup fresh lemon juice (from 1 lemon)
* ¼ cup water
* ⅓ cup sugar
* ½ cup hazelnut liqueur (such as Frangelico)

Zest the lemon and set aside.
In a small saucepan, combine lemon juice, water and sugar over medium heat.
Bring to a boil, reduce heat and simmer for 2 minutes, stirring occasionally, until the sugar has dissolved.
Take the pan off the heat and allow the syrup to cool.
Mix in the hazelnut liqueur with the syrup.

Tiramisu
I only ended up making 2 layers instead of the 3 layers in the recipe. I did not use all of

* 1-½ cups whipping cream
* 5 tablespoons sugar
* 1 (15-ounce) container mascarpone cheese, at room temperature
* 42 soft or hard ladyfinger cookies (or enough for 2 layers)
* 1-¼ cups lightly chopped toasted and skinned hazelnuts
* 1 lemon, zested

Whip the cream in a large bowl until thick.
Add the 2 tablespoons of the sugar and continue to whip until the cream holds soft peaks.
In another bowl, cream together remaining sugar and mascarpone cheese for 30 seconds.
Mix ¼ of the cream into the mascarpone.
Using a rubber spatula, fold in the remaining whipped cream.
Set aside.
In a food blender, quickly pulse the hazelnuts and lemon zest.
Set aside.
Place the lemon and hazelnut syrup in a small shallow bowl.
Quickly dip a ladyfinger in the lemon and hazelnut syrup, quickly turning it into the syrup. (The goal is to make sure the lady finger has absorbed enough liquid without disintegrating.)
Place
the lady finger at the bottom of a 13" x 9" serving dish.
Repeat until the bottom of the dish fully covered.
Spread ½ of the mascarpone mixture over the cookies.
Top with ½ of the hazelnut mixture.
Repeat layering the moistened ladyfinger cookies, mascarpone mixture and hazelnut mixture.
Cover and refrigerate for at least 6 hours or preferably overnight. (I didn't plan ahead and refrigered it for maybe 2 hours. It was still very good!)
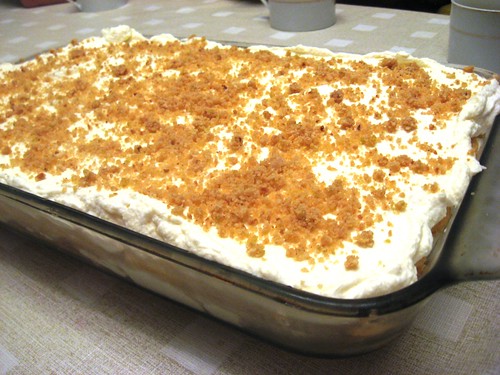
Tada!

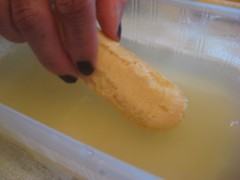
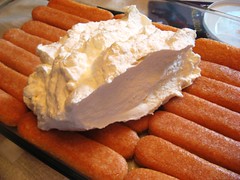
Dipping ladyfingers Covering bottom of dish
Mascarpone & Whipped Cream Mixture Topping with second layer of ladyfingers
The simple steps assembling the tiramisu: 1) dip the lady fingers, 2) cover the bottom with the fingers, 3) top with mascarpone mixture and hazelnut and 4) repeat.

Even though the mascarpone and whipped cream are quite rich, the tiramisu tasted quite light and airy because of the lemony flavour and the moistened lady fingers. I would definitely make this recipe again. It makes quite a large portion so I would have it next time or make it when I have a lot of guests. It's definitely a great recipe for a summer dessert since it involves no baking. A very good alternative to the traditional tiramisu!

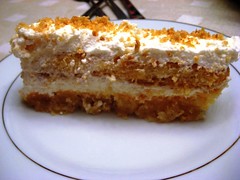
Lemon Hazelnut Tiramisu Lemon Hazelnut Tiramisu
Lemon Hazelnut Tiramisu.