Showing posts with label Italian. Show all posts

Sunday, August 26, 2012

Pasta Casareccia (Montréal, QC)

5849 Rue Sherbrooke
Montréal, Québec
Notre-Dame-de-Grâce
514.483.1588
website

I got back from my BC trip and headed straight to my new condo. I hope to have some before and after posts soon-ish! During the following week, with help from my family, the condo was cleaned and painted. After one of these cleaning sessions, Elle and I went searching for food in my new neighbourhood of Notre-Dame-de-Grâce (NDG) - also my old neighbourhood as this is where I grew up. We walked down Sherbrooke and went to one of Elle's favourite restaurants for pasta.

Pasta Casareccia has a great reputation for pasta because it makes its own pasta in-house. Not only is it a restaurant, but also offers Italian goods, including fresh homemade pasta to bring home. We sat down at one of the outside tables and admired the herb planters on the tables.

IMG_0385 (1024x762)
Pasta Casareccia.

Elle and I both started with a Cesar salad ($6) each. The dressing tasted homemade but the anchovies flavour was a tad strong for my taste.
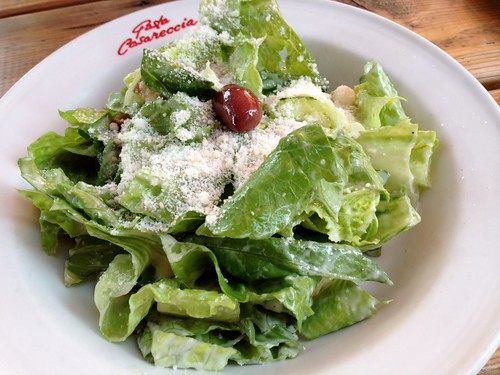
IMG_0387 (1024x768)
Cesar salad.

The menu offered a few pasta and sauce choices that patrons can combine to their liking. In an attempt to have a light dinner, we decided to share the medaglioni di ricotta ($16) because Elle was intrigued by this unfamiliar pasta. The dish consisted of 4 large medallions that we shared.
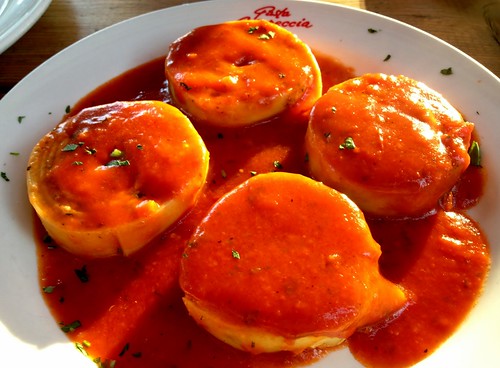
IMG_0388 (1024x754)
Medaglioni di ricotta.

When we sliced into the medallions, we were amazed by the thin layers of pasta alternating with ricotta and spinach filling. We tried to figure out if the pasta was cooked before putting the medallions together, or if the pasta was rolled uncooked and baked. We couldn't figure it out. We also agreed that it would take a lot of skill to spread a very thin layer of filling and roll it into such a nice medallion. We might have to try our hand at medaglioni's! The medallions were topped with tomato sauce.
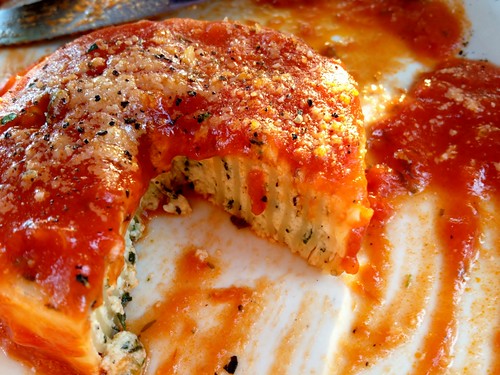
IMG_0390 (1024x768)
Delicate layers of pasta.

I am very excited to further explore my new neighbourhood, and Pasta Casareccia was a great start! I can't wait to go back and try other homemade pasta. It's also good to know that I have access to great pasta nearby. This will be very convenient if I ever have to throw an impromptu dinner party.

 Pasta Casareccia on Urbanspoon

Wednesday, February 29, 2012

Taralli

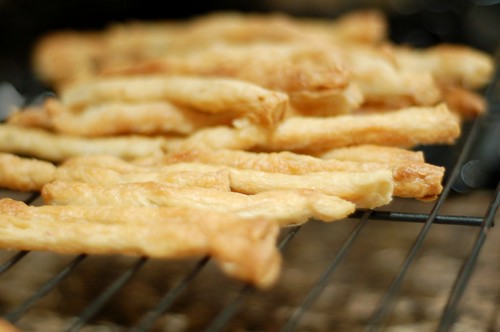
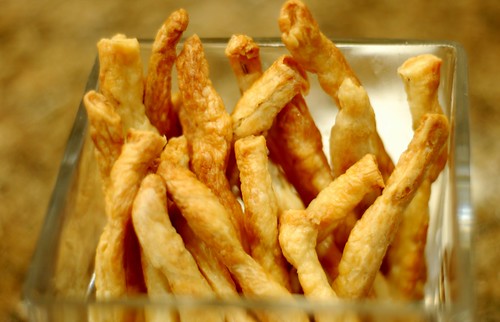
Taralli never appealed to me until someone brought some to work. The Italian light and crispy breadsticks were studded with fennel seeds and had a great salty bite. I fell. Hard.

DSC_0660 (1024x680)

I loved the fennel seeds in the taralli I tried and I thought adding these with another classic, peperoncini, would make a great combination for my first batch of taralli. I also wanted to try a less common flavour, rosemary for the second batch.  
 
Taralli
Makes about 24 breadstick-shaped taralli's.
Adapted from Babbo Ristorante and David Rocco.

I immediately wanted to try the recipe from Canadian-Italian TV host David Rocco. But I then found a recipe  from Babbo Ristorante's website, my Italian Iron Chef hero's restaurant. This recipe has more wine, white wine in this case, but I did not go to the trouble of getting 00 flour, so I adapted from both recipes since David Rocco's recipe used all-purpose flour.

▪ 250 g (½ lb) all-purpose flour
▪ 2 tsp salt
▪ ½ tsp sugar
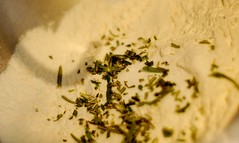
▪ 1-½ Tbsp fennel seeds / 2 tsp crushed red pepper flakes OR 2 Tbsp fresh rosemary (roughly chopped)
▪ ¼ to ½ cup (250 ml) white wine, or as much as you need
▪ ½ cup (250 ml) extra virgin olive oil

Place the flour, salt, sugar, and flavourings of your choice in the bowl of an electric mixer.
Add the wine and oil and mix on medium speed to form a wet dough.
Add more wine and/or water as required.
Transfer the dough to a plastic container, well dusted with flour.
Sprinkle the top of the dough with more flour, cover and refrigerate for at least 2 hours or overnight.

DSC_0629 (1024x668) DSC_0632 (1024x612)
Dry ingredients for the different flavoured taralli.

Turn the dough out onto a floured board and knead lightly.
Divide the dough into two pieces.
Roll portions of the dough into long ropes, about ¾ inch in diameter.
Cut the rope into about 4" pieces. (Taralli are traditionally shaped into rings, but I chose to shape them like breadsticks. It's also less effort this way!)
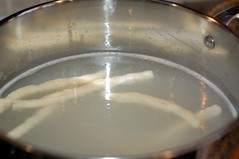
Boil approximately 4-5 litress of water in a large, shallow pot.
Season the water with salt.
Drop the dough sections, about 6 at a time; the water should remain at a simmer.
The taralli will float to the top when they are done.
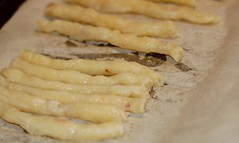
Gently scoop them out of the water with a slotted spoon or a Chinese skimmer, allowing them to drain for a moment in the spoon, before placing them on a cookie sheet lined with parchment paper.
The dough is still pliable so straighten them to make nice breadsticks-like taralli.
While you are boiling the taralli, preheat the oven to 375 F.
Bake the taralli for 40-50 minutes, flipping them over half way through.
Remove them from the oven when they are a nice even, golden brown.
Transfer to a rack to cool completely before storing them in an airtight container.

DSC_0637 (1024x680) DSC_0635 (1024x612)
Boiling taralli and laid down on parchment paper for baking.

Making taralli is labour intensive but the crispy and delicious finished product was more than worthwhile! While I enjoyed both batches, my favourite is still the fennel seeds one. Unfortunately, I didn't put enough chili flakes to get enough kick. I would also add more rosemary next time for more punch. (The recipe above reflects the more generous quantities.) Other great ideas for flavourings would be to roll the boiled taralli with sesame seeds, or with very finely grated Parmesan. They make a perfect pairing with a glass of wine!

DSC_0664 (1024x659)

Friday, December 2, 2011

Pizzeria Libretto (Toronto,ON)

221 Ossington
Toronto, Ontario
416.532.8000
website

After our day in Toronto, including brunching at Drake Hotel and munching on mini-donuts, we met our friend V for dinner. At a colleague's recommendation, we decided to try real Neapolitan pizza at Pizzeria Libretto. The restaurant does not take reservations, so after being told that there was a 2 hour wait for a table, we decided to head back to Drake Hotel for a drink. Unfortunately, minutes after we ordered our drinks, our friend V's cell phone rang, informing her that our table was ready! It had not even been an hour! So if you do decide to try this restaurant out, take the timing with a grain of salt, and have drinks closer by!

Pizzeria Libretto

Our friend V and her boyfriend F ordered the salumi tasting ($24) as a starter. There seemed to be a variety of cold cuts, including Ontario prosciutto. They seemed to really enjoy their sampler.

Salumi Tasting
Salumi Tasting.

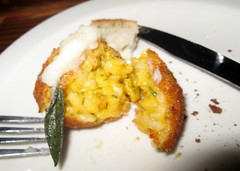
My sister, brother-in-law and I shared an order of butternut squash arancini ($9), served on cauliflower purée and topped with a crispy sage leaf. The deep-fried ball contained rice mixed with butternut squash that provided a creamy texture. We really liked the cauliflower purée.

Butternut Squash Arancini Butternut Squash Arancini

Pizzeria Libretto boasts that it makes VPN (Vera Pizza Napoletana) certified pizza and bakes their pizzas for only 90 seconds at a very high heat. This gives the crust a satisfying char. I think there are clearly two camps when it comes to pizza: thin crust and thick crust. I am a thin crust girl through and through, and so Pizzeria Libretto pizza's are right down my alley.

The first Neapolitan pizza we shared was the cremini mushroom ($17). I love mushrooms, so when there is a mushroom pizza available, it is highly likely that I will order it. I loved the earthiness of the cremini mushrooms against the mozzarella, the salty gorgonzola and the sweet roasted garlic cloves.

Cremini Mushroom Real Neapolitan Pizza

The second pizza we shared was the house-made sausage ($16). The sausage atop our second pizza was well-seasoned and I could really taste the fennel seeds. I loved the addition of chili oil and the very crispy basil leaves. This pizza had a lot more pizzaz compared to the milder cremini mushroom pizza.

House-Made Sausage Real Neapolitan Pizza

For dessert, my sister L and I debated between the tiramisu and the chocolate-amaretto budino ($7). While I do love tiramisu, it is widely available, so we ordered the budino, which ended up being an excellent choice. The budino was chocolatey and creamy, topped with chopped hazelnuts. It seemed like such an indulgence to be eating the budino with a spoon out of a jar.

Chocolate-Amaretto Budino

Even with the timing drama before our meal, we thought Pizzeria Libretto was worth the wait. Two thumbs up from everyone!

Pizzeria Libretto on Urbanspoon

Wednesday, July 27, 2011

Lobster Ravioli

I was watching Diners, Drive-ins and Dives and saw the most decadent recipe: lobster ravioli! I quickly googled "Rino's Place" for the recipe but only found Rino's Special veal cutlet recipe, so I quickly scribbled down the ingredients for future reference. (I could also have watched the episode on youtube here.)

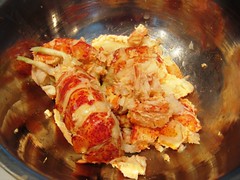
I really love lobster but have never cooked with it. When there was a lobster sale on Father's Day, I quickly went and bought 3 small ones at $4.99 each. I was hanging out with my friend T, so she made the pasta dough while I prepared the filling. It was a lot of work to get the lobster meat out of the shells, especially for someone inexperienced like me. However, the work was well worth it!

Lobster Ravioli

Lobster Ravioli - Makes about 3 dozen ravioli's (about 4-5 servings)
Adapted from Rino's Place on Diners, Drive-Ins and Dives. Watch the episode here.
You can make these ravioli's as small or large as you want. My friend T and I had 7 each and it was plenty. You could make less and serve 2-3 per person as a decadent starter! These would also be great with crab instead!
Lobster Ravioli
* olive oil
* 1-2 shallots, chopped
* 1-½ cups of cooked lobster meat, from 3-1lb. lobster (set aside ¼ cup or so of lobster meat for the sauce), or use canned lobster - chopped roughly
* parsley
* ½ lb. ricotta
* 3-4 Tbsp Parmesan
* salt, to taste
* pepper, to taste
* 6 pasta sheets - or make your own!

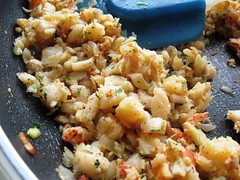
Cook shallots in olive oil on medium high heat.
Once the shallots have softened, add lobster meat and parsley.
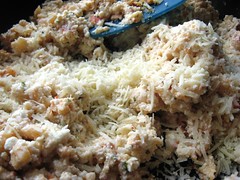
Take
the pan off the heat and mix in the ricotta and Parmesan.
Taste filling and season with salt and pepper to taste.
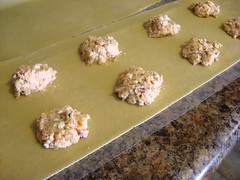
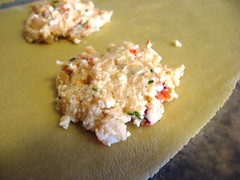
On a pasta sheet laid out on the counter, add about a tablespoon or so of filling a couple of inches apart. (I was able to make about 12 ravioli's on one sheet but it depends on the size of your pasta sheet.)
Wet the pasta in between the filling creating the borders of the ravioli's so they seal properly.
Top off with another pasta sheet.
Around each mound of filling, press out on the wet area, making sure there are no air pockets in the filling.
Cut each ravioli out with a pizza roller.
Ensure the ravioli's are well sealed again (or they will open up in the water when cooking).
In a large pot of boiling water, cook the ravioli's for 7-8 minutes until they float up.
(If you are lucky enough to have extra, lay them individually on a baking sheet and freeze before cooking them. When they are frozen, place them in a sealed plastic bag.)

Lobster Shells Lobster Meat
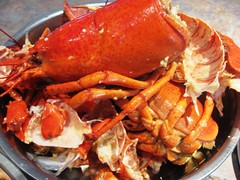
Taking out fresh lobster meat was hard work but worth it!

Sauteeing lobster Lobster filling
Making lobster ravioli Making lobster ravioli
Top: Sautéeing the lobster; adding cheese.
Bottom: Making the ravioli's.

Lobster Sauce - for 4 servings
If you want to make this sauce even more lobster-ey, cook the shells in the sauce and strain out. I didn't do this and it was still very good!

* oil
* chopped shallots
* minced garlic
* a handful of sliced mushrooms (optional)
* ¼ cup lobster meat that was set aside
* ½ cup tomato sauce
* 1 cup cream (heated in the microwave - this helps preventing from curdling)
* salt, to taste
* pepper, to taste
* a few basil leaves, chopped

Cook shallots and garlic in oil.
Add mushroom slices and cook on high heat.
When the mushrooms have softened, add lobster meat, tomato sauce and heated cream.
Turn down the heat and let the sauc simmer until it has slightly thickened.
Add salt and pepper to taste.
Add
basil last.
Place the ravioli's in a deep plate.
Top with the sauce.
Tada!

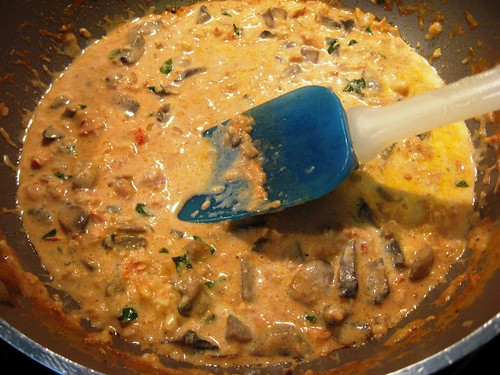
Making the lobster sauce

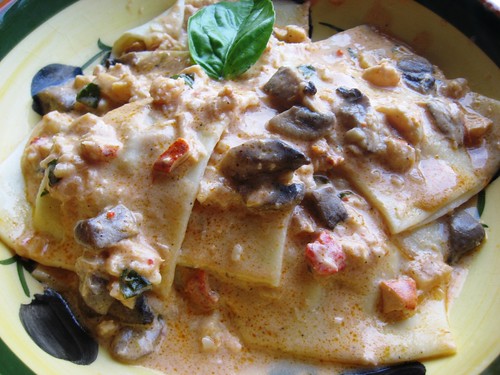
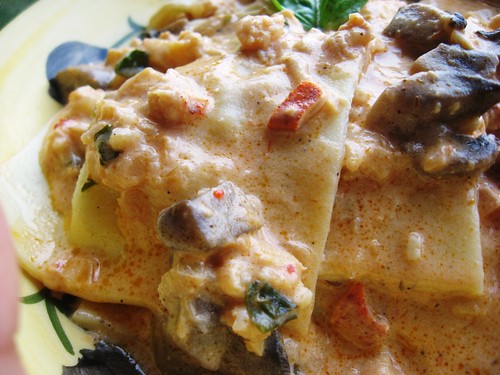
My friend T and I were so happy with the outcome of this dish. It felt like quite a treat between the lobster in both the sauce and the filling, and the fresh pasta! This recipe is definitely worth saving for special occasions or when lobsters are in season!

Lobster Ravioli
I wish I had this in front of me right now!

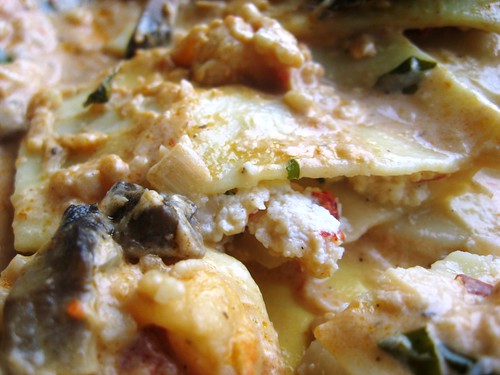
Cutting in the lobster ravioli
Slicing into the lobster filling!

For other lobster recipes:
* Lobster and Corn Soup
* Salt and Pepper Lobster
* Stir Fried Lobster with Ginger and Green Onion

Sunday, May 1, 2011

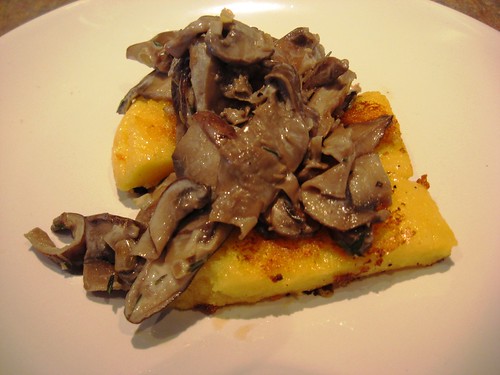
Fried Polenta and Mushrooms

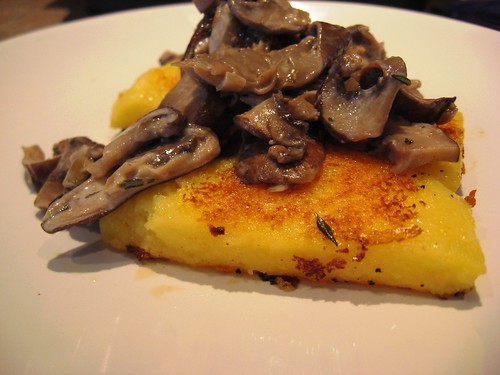
I know I wrote that I would be better at updating my blog. Unfortunately, my laptop got a virus and was down for a few weeks. Waah-waah! But I hope May will be my more successful month in an unsuccessful 2011. So a few weeks (months?) back, I invited a couple of friends over for lunch before we headed to the home show to see Sarah Richardson (I'm a big fan of all of Sarah's HGTV shows and her design style). I decided to attempt making fried polenta and served with mushrooms. It was easy and quite successful!

Fried Polenta and Mushrooms


Fried Polenta and Mushrooms - Makes 8 triangles

Adapted from Honest Fare.
While I liked that the original recipe has mushrooms in the polenta, I wanted to serve a mushroom sauce over the polenta triangles.


For the polenta:
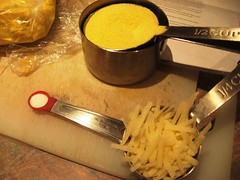
* ½ cup cornmeal
* 2 cups water
* salt to taste
* pepper to taste
* ¼ cup Parmesan

Bring 2 cups of water to an almost boil in a large pot.
Lower heat and slowly add ½ cup of polenta while stirring so it doesn’t clump (this is an important step and caused me to throw out my first batch because I felt there were lumps).
Stir until polenta is creamy and begins to thicken.
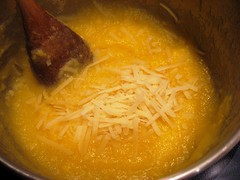
Add salt (start with a ¼ teaspoon and add more to taste) and ¼ cup Parmesan cheese. Continue cooking and stirring for about 10 minutes.
Remove from heat.
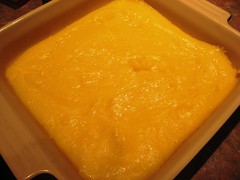
Line 9" x 9" pan with parchment paper.
Spread polenta evenly across using back of a spoon or spatula.
Cover with another sheet of parchment paper.
Flatten, smooth and form nice edges by gliding your hands across top of parchment paper. Put in fridge to cool for at least 1 hour (or overnight).
Once a solid polenta slab has formed, cut out the cakes into squares, triangles, circles or whatever shape desired.

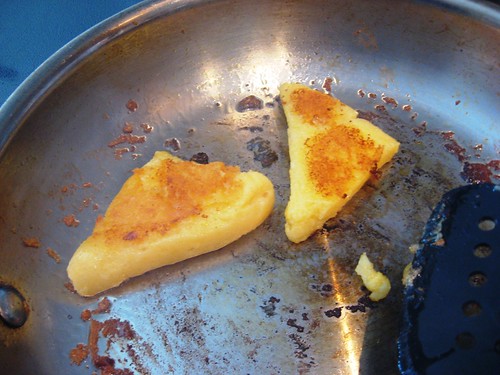
adding cheese to the cornmeal
polenta Polenta triangles
Preparing the polenta.

For the mushrooms:
* oil
* 1 shallot, diced small (or ½ onion)
* 2 handfuls of your favourite mushrooms, sliced
* 2 thyme sprigs
* Marsala wine (optional)
* salt and pepper
* cream

In a large saucepan, heat up the oil on medium heat.
Add the shallots and cook until softened, about 1-2 minutes.
Add the mushrooms and thyme leaves.
Season with salt and pepper.
Add marsala wine if using.
Add a bit (or more to make it saucier) of cream.
Once the mushrooms are cooked, set aside.

Putting everything together:
Coat bottom of pan in olive oil and heat to medium high heat (it has to be high enough or it will stick).
Place a cake on the pan and DON’T move it.
Let it fry for 2-3 minutes per side untouched.
Flip and repeat.
Drain on paper towels.
Top with mushrooms.
Tada!

Frying polenta
Frying the polenta.

I would definitely make this recipe again and would consider making small dainty portions to serve as an appetizer. I still really like the idea of mushrooms in the polenta and would try that next time. While mushrooms is often served on polenta, so many other vegetables, such as asparagus could also be served on top.

Fried Polenta and Mushrooms
A delicious vegetarian dish!

Saturday, February 19, 2011

Fresh Egg Pasta

Over Christmas (yes, I still have posts related to the holidays), my friend C generously invited me over for dinner. I was so excited to find out that she was making homemade fresh pasta. Due to her Italian background, C is quite serious about her pasta (she even treated us to homemade cannoli's). Her pasta and seafood was amazing; the egg noodles just melted in my mouth! Not only did I come home that night with a very full belly, but I also scored her pasta maker (since C got a pasta attachment for her Kitchen Aid for Christmas)! Sweet!

I was very excited to try my hand at making pasta. Since C's pasta recipe is to add flour to eggs until the texture is right, I used my Joy of Cooking: All about Pasta & Noodles cookbook as a reference. C did have a good tip for quantity: use 1 egg per person.

Homemade Pasta

Fresh Egg Pasta - Serves 4
From Joy of Cooking: All about Pasta & Noodles.

3-½ all purpose flour
5 eggs
1 tsp salt (optional)

1 tsp extra-virgin olive oil

Pour flour onto a clean counter (or a big bowl), shaping into a mound and make a well in the center.
Add to the well, the eggs, salt and olive oil.
Beat the eggs lightly with a fork, drawing in some flour as you go, until the eggs are mixed and slightly thickened.
Using the fingertips of one hand, gradually incorporate the flour into the eggs and blend everything into a smooth, not too stiff dough.
If the dough feels too dry and crumbly, add water as needed.
Knead the dough until satiny and very elastic, about 10 minutes.
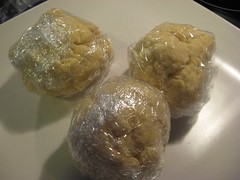
Divide the dough into 4 pieces and wrap the pieces loosely in plastic.
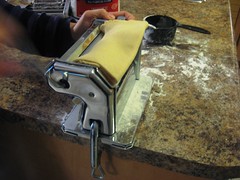
Follow directions of pasta maker to roll dough.
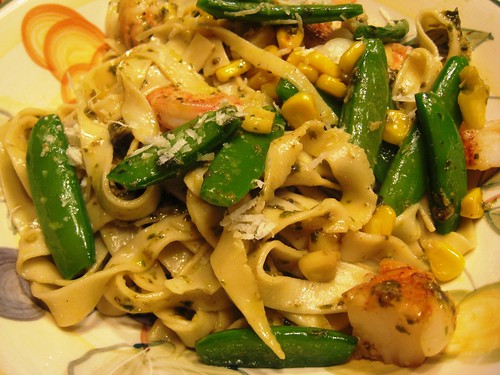
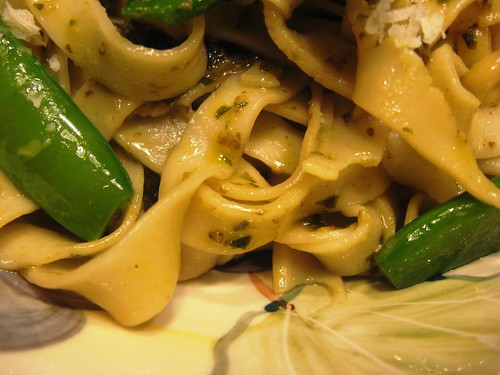
Cook pasta and serve with desired ingredients (this time, I used pesto, corn, snap peas, shrimps and scallops).
Tada!

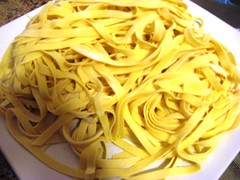
Flour & Eggs Balls of pasta dough
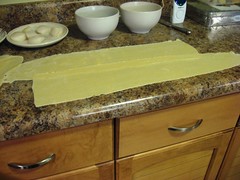
Rolling the pasta Thin sheets of pasta
Rolling pasta for the first time was tricky but fun!

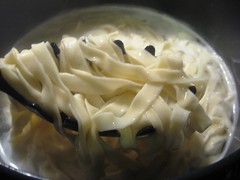
Noodles! Cooking noodles
I was feeling so proud to have actual fresh noodles!

I'm not sure how much a pasta maker costs but I think it's worth it if you'll use it often. Making the actual pasta dough wasn't hard. I actually tried making pasta without a pasta maker before Christmas with failed results. I cannot wait to put the pasta maker to use again! Thanks so much C!

Homemade Pasta
Dig in to the fresh pasta!

Tuesday, November 30, 2010

Mike's Pastry (Boston, MA)

340 Hanover Street
Boston, Massachusetts
617.742.3050
website

After dinner at Myers+Chang, we headed to my brother-in-law D's favourite spot for cannoli's in Boston. I think he makes a pit stop every time he goes to Boston. As we walked to Mike's Pastry, we passed another cannoli place with a long waiting line and Mike's was no different. The night was young so we got in line.

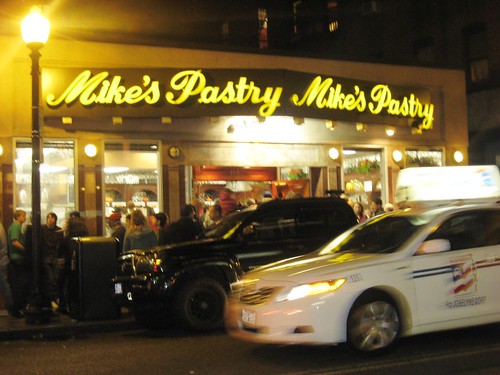
Mike's Pastry

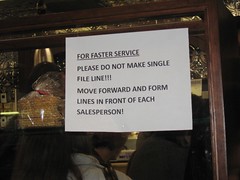
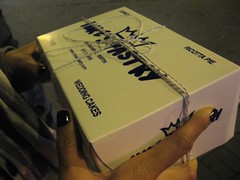
As we neared the entry, my sister and I abandoned D. We don't like lines. As you can see from the sign below, it's pretty much a free for all once you get in, but I would describe it as orderly chaos. You could see service was very efficient. All that to get a box with blue writing; we saw quite a few people with the Mike's Pastry box throughout the day.

Mike's Pastry Mike's Pastry
No single file line! Are we in Asia?

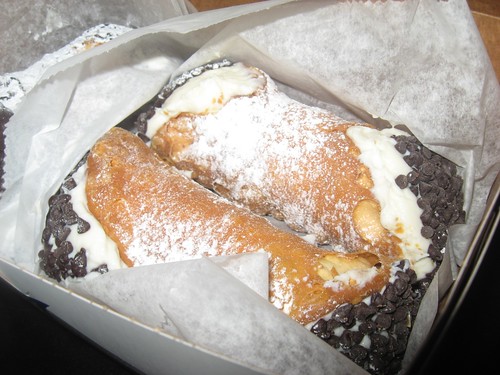
D got himself and his twin brother chocolate chip cannoli's.

Cannoli

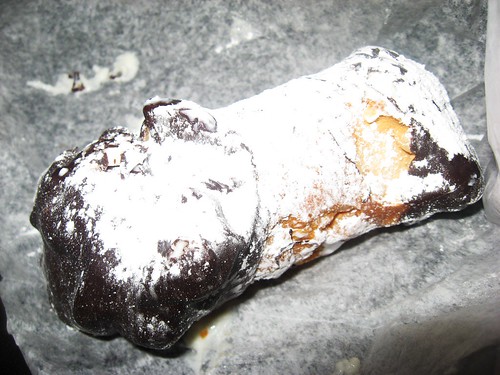
My sister and I shared a chocolate dipped one.

Cannoli

A few days after our visit, I read Cathy's thoughts on Mike's Pastry. She felt it was a tourist trap. My thoughts? I thought the cannoli was good but I think I've had just as good at other Italian pastry shops. (L has a weakness for one in Marché Jean-Talon.) It was nice to end our Boston weekend on a sweet note!

Miss.Adventure & Elle
My sister L (or Elle - she got herself a new blog!). There's no one I like to shop with better!

Mike's Pastry on Urbanspoon

Check out my attempt at cannoli's:
* Chocolate Cannoli