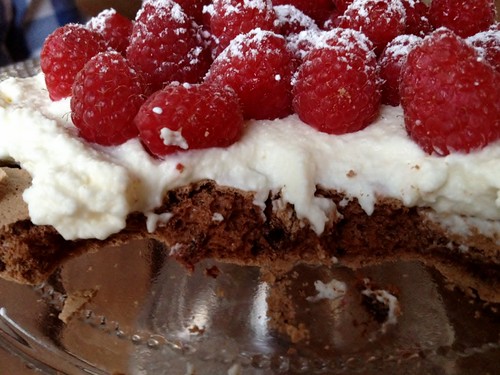
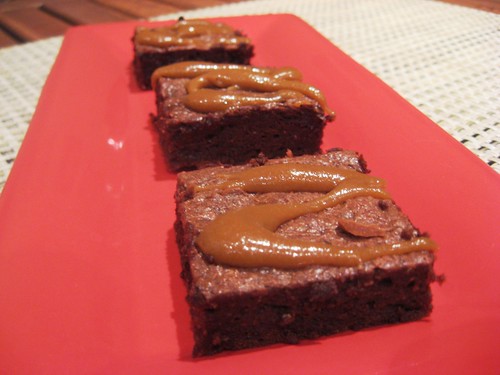
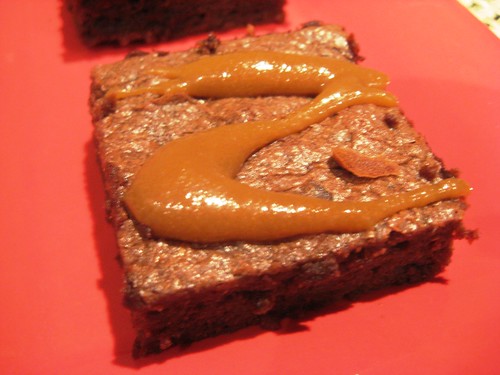
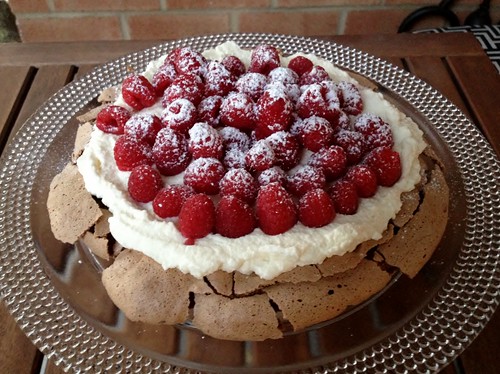
Showing posts with label chocolate. Show all posts

Saturday, September 1, 2012

Chocolate Pavlova

I had Elle and her husband D for dinner at my condo. We had lobster ravioli's (homemade and frozen), and I had to think of an easy dessert. With pints of fresh raspberries in my fridge, I thought a pavlova was the perfect idea. Elle had mentioned having a chocolate pavlova, and  I thought I would try my hand at it since I have gainfully mastered pavlova's in the past.

IMG_0542 (1024x765)
Chocolate Pavlova.

Chocolate Pavlova (Serves 3-4)
I halved this recipe and adjusted the baking time accordingly.
From Joy of Baking.

Pavlova
* 3 egg whites, room temperature
* ⅛ tsp cream of tartar
* ½ cup sugar
* ½ tsp white vinegar
* ½ tsp pure vanilla extract
* ½ tsp cornstarch
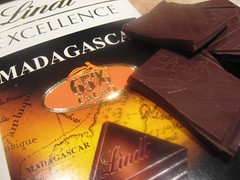
* 1-½ Tbsp Dutch processed cocoa powder
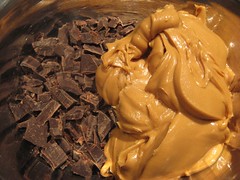
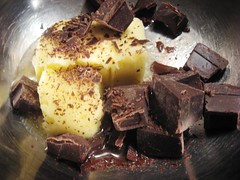
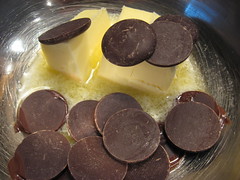
* 1 ounce semi-sweet or bittersweet chocolate, chopped

Preheat oven to 250 degrees F and place rack in center of oven.Line a baking sheet with parchment paper and draw a 6 inch circle on the parchment paper.
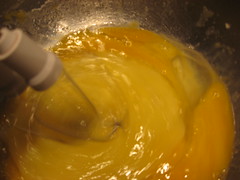
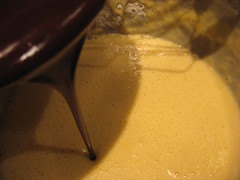
With electric egg beaters or by hand, beat the egg whites until foamy. (The trick here is that the eggs should be at room temperature. Warm the eggs up in a bowl of hot water. Also, make sure absolutely no yolk has tainted the egg whites. Break the eggs one at a time, transferring successful separated egg whites.)
Add the cream of tartar and continue to beat on medium-high speed until they hold soft peaks.
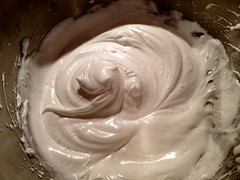
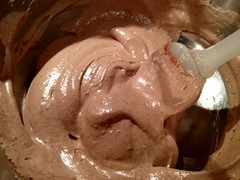
Start adding the sugar, a tablespoon at a time, and continue to beat until the meringue holds stiff peaks. (Test to see if the sugar is fully dissolved by rubbing a little of the meringue between your thumb and index finger. The meringue should feel smooth, not gritty. If it feels gritty the sugar has not fully dissolved so keep beating until it feels smooth between your fingers).
Using a large rubber spatula, fold in the vinegar and vanilla extract.
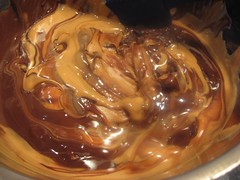
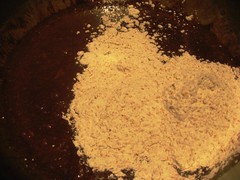
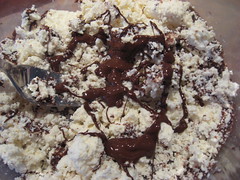
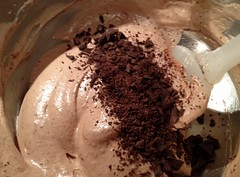
In a small strainer, sift the cocoa powder and cornstarch over the top of the meringue and, with the rubber spatula, fold in.
Lastly, fold in the chopped chocolate. (I chopped it fine but would leave bigger chunks next time to created gooey pieces of chocolate within the pavlova.)
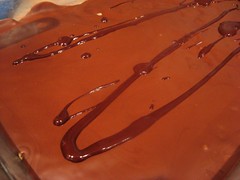
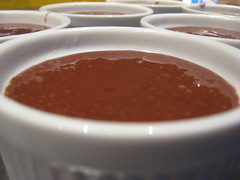
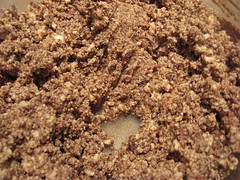
Spread the meringue inside the circle drawn on the parchment paper, smoothing the edges.
Bake for about 1 hour or until the outside is dry. (The outside of the meringues will feel firm to the touch, if gently pressed. There will be cracks and you will see that the inside is soft and moist.)
Turn the oven off, leave the door slightly ajar, and let the meringue cool completely in the oven.
The cooled meringue can be made and stored in a cool dry place, in an airtight container, for a few days.
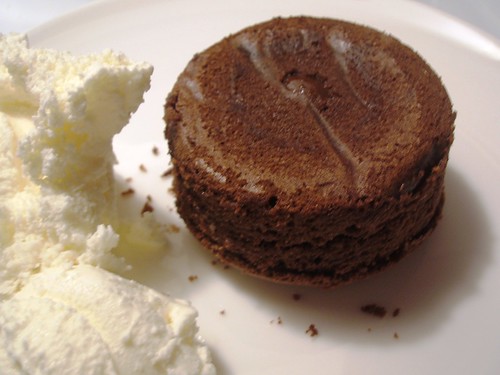
Just before serving gently place the meringue on a serving plate.
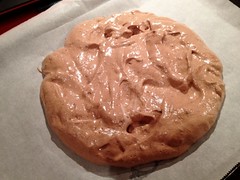
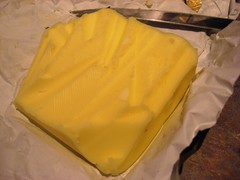
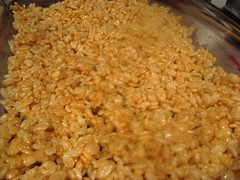
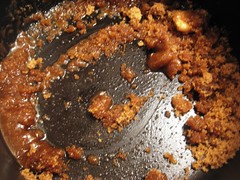
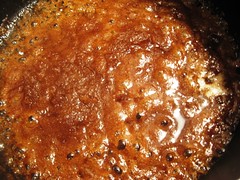
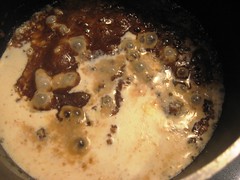
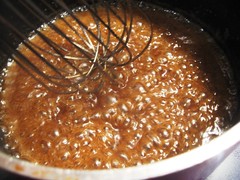
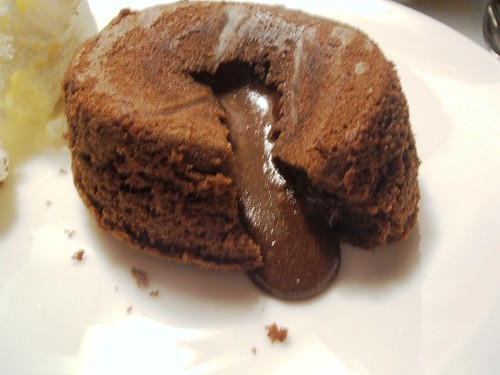
IMG_0530 (1024x768) IMG_0531 (1024x767)
IMG_0532 (1024x754) IMG_0533 (1024x768)
Making the pavlova.

Topping
* ½ cup heavy whipping cream
* 1 Tbsp granulated white sugar
* fresh fruit of your choice - raspberries are lovely with chocolate
* powdered sugar

Whip the cream until soft peaks form. (The trick here is that the cream should be cold and ideally, the bowl too. You can whip the cream over a second bowl of ice water to help.)
Sweeten with the sugar and spread the whipped cream over the meringue.
Arrange the fruit on top of the cream.
Serve immediately as this dessert does not hold and once you add the cream and fruit the meringue will start to break down.
Dust fruit with powdered sugar.

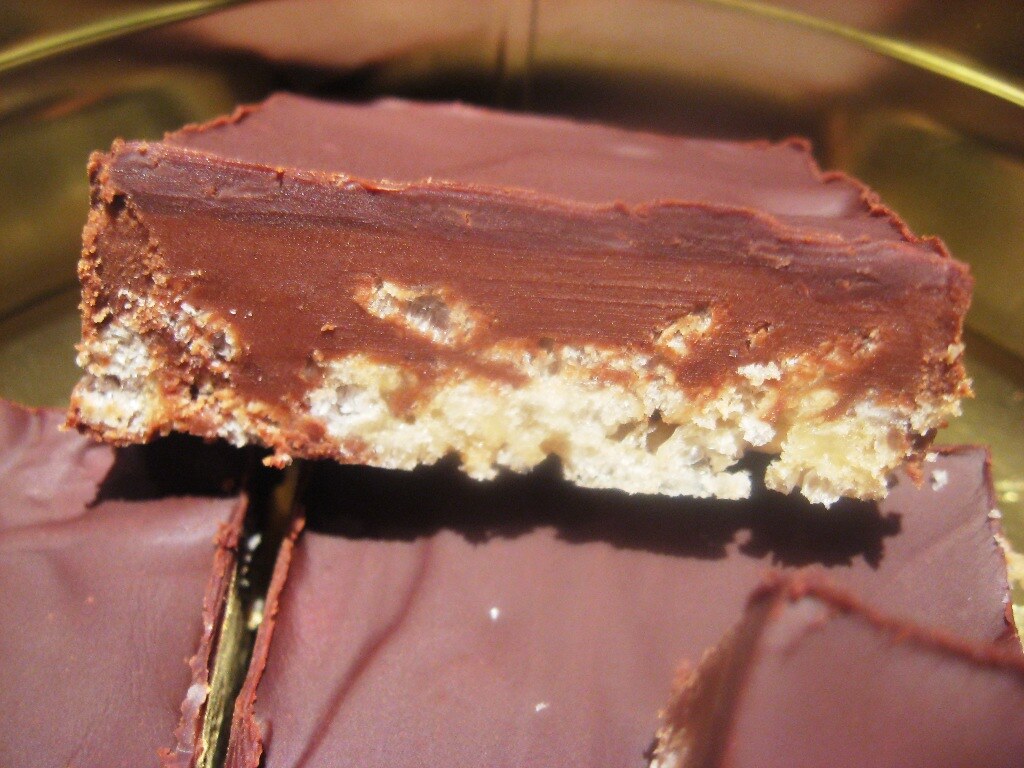
We grabbed 3 spoons and dug into the pavlova without cutting it. It was amazing. The pavlova was crunchy on the outside, but still chewy on the inside. With the whipped cream and the fresh raspberries, it was a heavenly combination!

IMG_0546 (1024x767)

Thursday, November 11, 2010

Peanut Butter Crispy Bars

I found this Smitten Kitchen recipe via A Cup of Jo and have been waiting for just the right occasion to make it. Finally, a trip to Boston during Canadian Thanksgiving seemed perfect. I wanted to make a big batch for my friends E and T, and for my sister and her husband D, as well as his twin brother J and his girlfriend R. Ooof!

Peanut Butter Crispy Bars

I think sometimes the appeal of a recipe not only comes from the recipe itself but from a picture! I've been looking at Smitten Kitchen's picture since August, imagining myself making these exact crispy bars. Well, no surprise, they don't look exactly alike. My layers aren't as well defined and I have to work on being patient to cut proper squares. Aside from how the bars looked, they tasted awesome! Very, very rich. I can only eat a small square at a time. The crispy bottom and the chocolatey-peanut butter combination is reminiscent of Reese's peanut butter cups.

This recipe may seem long because there are three steps but it's really easy. The first step is the hardest (and it's not hard). The next two just involve melting chocolate and other ingredients and pouring out a layer.

Peanut Butter Crispy Bars
From Smitten Kitchen.
I made 1.5 recipe because I wanted to make a larger recipe and use a 8" x 12" baking dish. I think this kind of threw the recipe a bit. My crispy layer was thicker than the picture and the peanut butter layer not as thick. Also, I used semisweet chocolate recommended by Smitten Kitchen instead of the milk chocolate (mainly because I already had some). I think because of this, there was not as much variation in colour between the peanut butter layer and chocolate icing layer.

For the crispy crust
* 1-¾ cups crisped rice cereal
* ¼ cup sugar
* 3 tbsp light corn syrup
* 3 tbsp salted butter, melted

Lightly spray a paper towel with nonstick cooking spray and use it to rub the bottom and sides of an 8-inch square baking pan. (I forgot this step with no problems!)
Put the cereal in a large bowl and set aside.
Pour ¼ cup water into a small saucepan.
Gently add the sugar and corn syrup (do not let any sugar or syrup get on the sides of the pan - great tip or you get crystals like I have previously experienced!) and use a wooden spoon to stir the mixture until just combined.
Put a candy thermometer in the saucepan.
Cook over medium-high heat and bring to a boil (this made me nervous so I lowered the heat to low-medium heat - the extra time allowed for me to prep the chocolate and peanut butter for the next step).
Cook until the mixture reaches the soft ball stage, 235 degrees F.
Remove from the heat, stir in the butter, and pour the mixture over the cereal.
Working quickly, stir until the cereal is thoroughly coated, then pour it into the prepared pan.
Using your hands, press the mixture into the bottom of the pan (do not press up the sides).
Let the crust cool to room temperature while you make the next layer.

Mangled piece of butter Start with water
Add pieces of butter Reaching the right temperature
Add butter Pour onto rice cereal
(Side note: A tip for measuring butter when you have an undefined amount left over: Add a set amount of water into a measuring cup, then add pieces of butter until you reach the total of initial amount of water + amount of butter you need. For example, I needed ¼ cup of butter, so I started with ½ cup of water and added butter until I reached ½ + ¼ = ¾. Drain the pieces of butter. No more figuring out funny pieces of butter.) I then had enough butter to add to the sugar and corn syurp mixture and poured it onto the rice creal.

For the milk chocolate peanut butter layer
* 5 ounces semi-sweet chocolate, coarsely chopped
* 1 cup creamy peanut butter

In a large nonreactive metal bowl, stir together the chocolate and the peanut butter.
Set the bowl over a saucepan of simmering water and cook, stirring with a rubber spatula, until the mixture is smooth.
Remove the bowl from the pan and stir for about 30 seconds to cool slightly.
Pour the mixture over the cooled crust, using the spatula to spread the layer evenly.
Put the pan in the refrigerator for 1 hour, or until the top layer hardens.

Chocolate & Peanut Butter Chocolate & Peanut Butter
Chocolate and peanut butter.

For the chocolate icing
* 3 ounces dark chocolate (60 to 72 percent cocoa), coarsely chopped
* 1/2 teaspoon light corn syrup
* 4 tbsp salted butter

In a large nonreactive metal bowl, combine the chocolate, corn syrup, and butter.
Set the bowl over a saucepan of simmering water and cook, stirring with a rubber spatula, until the mixture is completely smooth.
Remove the bowl from the pan and stir for 30 seconds to cool slightly.
Pour the mixture over the chilled milk chocolate peanut butter layer and spread (actually, I found it easier to just roll it around until it coated smoothly, avoiding the risk of picking up any of the peanut butter layer with it - damn I wish I had read this part better!!) into an even layer.
Put the pan into the refrigerator for 1 hour, or until the topping hardens.
Cut into 16 (at least! - I agree. These squares are pretty rich and I would cut them into smaller daintier squares next time) squares and serve.
(The bars can be stored in the refrigerator, covered tightly, for up to 4 days.)
Tada!

Dark chocolate Dark chocolate layer
Adding dark chocolate.

I was rather stressed making this recipe because of the mere mention of a candy thermometer. I bought a very affordable one. It actually helped me be more confident making the caramel. No second guessing. I just waited for the temperature to reach 235F! I did not go without a gaffe; I forgot to butter the baking dish. I've done this before with very sticky results. Luckily, I think there was enough butter that I didn't have any problems removing the squares with a little spatula after cutting them. And I really enjoyed cutting these squares. Cutting through the rice cereal was oh so satisfactory!

Peanut Butter Crispy Bars

I definitely will make this recipe again. It was pretty easy, although you should plan for the two hours required to allow the two different layers to cool down. I will have take-aways from my first try and make them even better next time!

Sunday, October 31, 2010

Low-Calorie Brownies With Butterscotch Drizzle

I read the various Glamour blogs daily and stumbled into this recipe on Vitamin G, Glamour's health blog. I'm not a big "sweets" person so I actually really enjoyed these. I could see some thinking it's not rich enough. I inadvertently made this recipe even more healthy by forgetting the granulated sugar. I still liked it but would add the sugar next time. On top of the brownies is drizzled butterscotch. After my caramel disaster, I made sure I was successful on my first try.

Low-Calorie Brownies With Butterscotch Drizzle

Brownies With Butterscotch Drizzle
Adapted from Glamour's Vitamin G.

* 4 tablespoons (½ stick) unsalted butter, more for buttering the pan
* 2 ounces unsweetened chocolate, chopped
* ¼ cup low-fat sour cream
* ½ cup light brown sugar
* 2 large eggs
* 1 tablespoon vanilla extract
* ½ cup whole-wheat flour
* ¼ teaspoon salt
* ½ cup bittersweet chocolate chunks or chips
* ½ cup butterscotch chips
* 2 teaspoons 1% low-fat milk

Preheat oven to 325°.
Line an 8-inch baking pan with parchment paper.
Melt butter with chocolate in a medium saucepan over low heat.
Remove pan from heat, and stir in sour cream, sugars, eggs, and vanilla until well-combined. Stir in flour, salt, and chocolate chips (I added a few spoonfuls of Nutella for extra flavour).
Pour batter into prepared pan.
Bake in middle of oven until a toothpick comes out clean (about 25 minutes).
Baked for 25 minutes only with parchment paper.
Cool brownies in a pan; cut into 16 squares.
Top each brownie with a drizzle of butterscotch - recipe below.
Tada!

Chocolate & Butter Adding flour
Adding chocolate

Butterscotch
Adapted from this how-to make butterscotch. I quartered the recipe since you don't need that much to drizzle the brownies. However, make the whole recipe to top ice cream or just enjoy on its own...!

* 1 tablespoons salted butter
* ¼ cup of tightly packed dark brown sugar
* 3-4 tbsp heavy whipping cream (not ultra-pasteurized)
* ¼ tsp vanilla extract
* 1 teaspoon kosher salt

In a small saucepan, melt butter over low to medium heat.
Just before butter is melted, add all dark brown sugar at once and stir with wooden spoon until sugar is uniformly wet (picture 1).
Stir until mixture goes from looking grainy to molten lava (about 3-5 minutes) (picture 2).
When the caramelizing brown sugar will begin to look and feel more like liquid and less like thick wet sand, add all the cream at once and replace your spoon with a whisk (picture 3).
Lower heat a little and whisk cream into mixture.
When liquid is uniform, turn heat back to medium and whisk every few minutes for a total of 10 minutes (picture 4).
After liquid has been boiling on the stove for its 10 minutes, turn heat off and let rest for a minute or two before transferring into a heatproof storage vessel.
Cool to room temperature.
When butterscotch liquid is room temperature, whisk in vanilla extract.
Taste again, adding more vanilla extract and/or salt until the marvelous taste of real butterscotch is achieved.
Chill butterscotch sauce in a non-reactive container with a tightly fitting lid only after sauce has chilled completely. (It will keep for one month refrigerated.)

Butter & Brown Sugar Until it bubbles
Add cream Whisk into butterscotch
Steps to making butterscotch sauce.

The rich butterscotch sauce was a really nice addition to the brownie. It was easy to make as long as you are patient and I can't wait to make it again. I found it also makes a nice visual addition to the brownie. I would definitely make this again!

Low-Calorie Brownies With Butterscotch Drizzle
Low-Calorie Brownies With Butterscotch Drizzle.

Friday, March 26, 2010

Moelleux au Chocolat

Moelleux au chocolat is pretty much molten chocolate cake or lava cake. But doesn't moeeeeeeeeellllleux sound so much better? Maybe it's because I like the French translation. Moelleux means something soft and mellow. It comes from the word moelle which means marrow, as in bone marrow, which is soft on the inside. This recipe is exactly what its name implies: soft, gooey and rich in the middle, just like marrow!

DSCF4701

My friends S & J had hosted dinner followed by poker. I offered to bring dessert. This recipe is great because it's easy to make, and it can be baked right before it's served. There are also only five ingredients! I forgot to bring my camera and didn't quite know how to work S' camera. The pictures are a bit blurry. I guess I'll have to make it again, just to get better pictures...!

Moelleux au Chocolat - Serves 6
From French Food at Home.
I kept looking at the butter and thinking that I'd be eating a sixth of it. You musn't think this way. It is well worth the extra run or exercise the next day! The original recipe has an accompanying caramel sauce recipe. I personally think it's overkill and would rather have whipped cream or vanilla ice cream on the side!

* 4 oz dark chocolate
* ⅔ cup butter
* 4 eggs
* ⅔ cup sugar
* ½ cup flour

Butter six ramekins and line with a disk of parchment.
Melt the chocolate and butter together over a water bath.
Beat the eggs and sugar until thick, pale, and ribbony in a separate bowl.
Beat in the flour, and finally the chocolate mixture.
Pour into the ramekins and chill.
Just before serving, heat the oven to 400°F/200°C.
Place the moulds on a baking sheet and bake until the top is set, 12 to 14 minutes. (If you want it less runny, bake it for a few extra minutes.)
Remove and let sit five minutes.
Run a knife around the edges to separate the cake from the ramekin. (I didn't do this for the first ramekin and it was hard to get the cake out.)
Flip the ramekin with a tea towel (it's very hot!) and unmould onto a plate.
Serve with a scoop of ice cream or whipped cream.
Tada!

IMG_9879 IMG_9880
IMG_9882 IMG_9885
It was amazingly quick to make!

DSCF4704
Even the blurry picture cannot hide the gooey-ness of this dessert!

For other chocolate recipes:
* Chestnut Brownies
* Chocolate Fondue
* Chocolate Pecan Cheesecake
* Chocolate Pie with Meringue Topping
* Flourless Chocolate Torte
* French Chocolate Bark
* Hershey's "Perfectly Chocolate" Chocolate Cake

Wednesday, March 24, 2010

Chocolate Cannoli

You can't just bring over dinner without dessert! So with my seafood pie, I also brought chocolate cannoli's. I wanted something easy and low stress. As I was buying cheese, I eyed the cannoli shells and asked to buy a dozen with some ricotta.

IMG_9872

Chocolate Cannoli
It cannot get easier than this! You can change the fillings as you'd like, like adding grated orange zest or making a simple ricotta filling with sugar and mini chocolate chips.

100 g melted chocolate
12 small cannoli shells
100 g ricotta cheese

Dip one end of each cannoli into the chocolate and let harden on parchment paper lined baking sheet.
Mix melted chocolate with ricotta and refrigerate the mixture.
Right before serving, stuff the ricotta shells with a spoon from both ends.
Tada!

IMG_9864 IMG_9865
It doesn't look attractive but it tasted good!