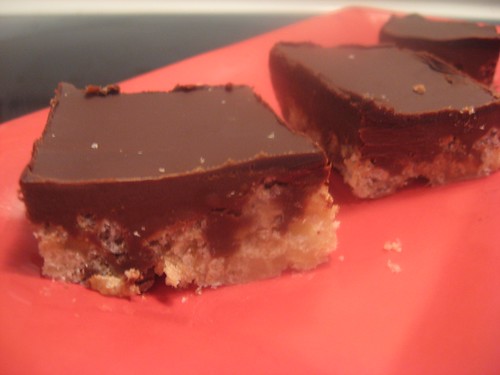
I think sometimes the appeal of a recipe not only comes from the recipe itself but from a picture! I've been looking at Smitten Kitchen's picture since August, imagining myself making these exact crispy bars. Well, no surprise, they don't look exactly alike. My layers aren't as well defined and I have to work on being patient to cut proper squares. Aside from how the bars looked, they tasted awesome! Very, very rich. I can only eat a small square at a time. The crispy bottom and the chocolatey-peanut butter combination is reminiscent of Reese's peanut butter cups.
This recipe may seem long because there are three steps but it's really easy. The first step is the hardest (and it's not hard). The next two just involve melting chocolate and other ingredients and pouring out a layer.
Peanut Butter Crispy Bars
From Smitten Kitchen.
I made 1.5 recipe because I wanted to make a larger recipe and use a 8" x 12" baking dish. I think this kind of threw the recipe a bit. My crispy layer was thicker than the picture and the peanut butter layer not as thick. Also, I used semisweet chocolate recommended by Smitten Kitchen instead of the milk chocolate (mainly because I already had some). I think because of this, there was not as much variation in colour between the peanut butter layer and chocolate icing layer.
For the crispy crust
* 1-¾ cups crisped rice cereal
* ¼ cup sugar
* 3 tbsp light corn syrup
* 3 tbsp salted butter, melted
Lightly spray a paper towel with nonstick cooking spray and use it to rub the bottom and sides of an 8-inch square baking pan. (I forgot this step with no problems!)
Put the cereal in a large bowl and set aside.
Pour ¼ cup water into a small saucepan.
Gently add the sugar and corn syrup (do not let any sugar or syrup get on the sides of the pan - great tip or you get crystals like I have previously experienced!) and use a wooden spoon to stir the mixture until just combined.
Put a candy thermometer in the saucepan.
Cook over medium-high heat and bring to a boil (this made me nervous so I lowered the heat to low-medium heat - the extra time allowed for me to prep the chocolate and peanut butter for the next step).
Cook until the mixture reaches the soft ball stage, 235 degrees F.
Remove from the heat, stir in the butter, and pour the mixture over the cereal.
Working quickly, stir until the cereal is thoroughly coated, then pour it into the prepared pan.
Using your hands, press the mixture into the bottom of the pan (do not press up the sides).
Let the crust cool to room temperature while you make the next layer.
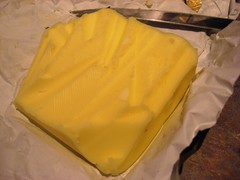
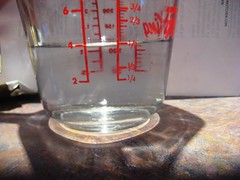
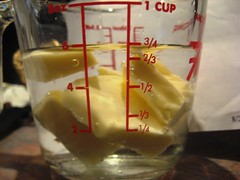
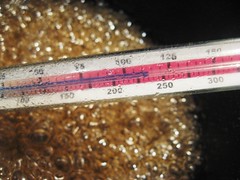
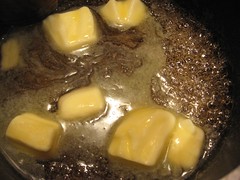
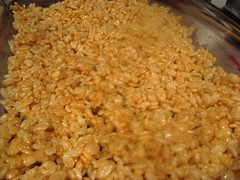
(Side note: A tip for measuring butter when you have an undefined amount left over: Add a set amount of water into a measuring cup, then add pieces of butter until you reach the total of initial amount of water + amount of butter you need. For example, I needed ¼ cup of butter, so I started with ½ cup of water and added butter until I reached ½ + ¼ = ¾. Drain the pieces of butter. No more figuring out funny pieces of butter.) I then had enough butter to add to the sugar and corn syurp mixture and poured it onto the rice creal.
For the milk chocolate peanut butter layer
* 5 ounces semi-sweet chocolate, coarsely chopped
* 1 cup creamy peanut butter
In a large nonreactive metal bowl, stir together the chocolate and the peanut butter.
Set the bowl over a saucepan of simmering water and cook, stirring with a rubber spatula, until the mixture is smooth.
Remove the bowl from the pan and stir for about 30 seconds to cool slightly.
Pour the mixture over the cooled crust, using the spatula to spread the layer evenly.
Put the pan in the refrigerator for 1 hour, or until the top layer hardens.
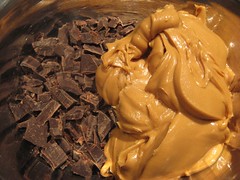
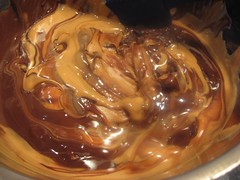
Chocolate and peanut butter.
For the chocolate icing
* 3 ounces dark chocolate (60 to 72 percent cocoa), coarsely chopped
* 1/2 teaspoon light corn syrup
* 4 tbsp salted butter
In a large nonreactive metal bowl, combine the chocolate, corn syrup, and butter.
Set the bowl over a saucepan of simmering water and cook, stirring with a rubber spatula, until the mixture is completely smooth.
Remove the bowl from the pan and stir for 30 seconds to cool slightly.
Pour the mixture over the chilled milk chocolate peanut butter layer and spread (actually, I found it easier to just roll it around until it coated smoothly, avoiding the risk of picking up any of the peanut butter layer with it - damn I wish I had read this part better!!) into an even layer.
Put the pan into the refrigerator for 1 hour, or until the topping hardens.
Cut into 16 (at least! - I agree. These squares are pretty rich and I would cut them into smaller daintier squares next time) squares and serve.
(The bars can be stored in the refrigerator, covered tightly, for up to 4 days.)
Tada!

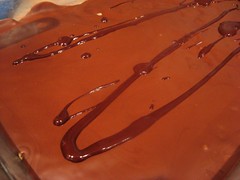
Adding dark chocolate.
I was rather stressed making this recipe because of the mere mention of a candy thermometer. I bought a very affordable one. It actually helped me be more confident making the caramel. No second guessing. I just waited for the temperature to reach 235F! I did not go without a gaffe; I forgot to butter the baking dish. I've done this before with very sticky results. Luckily, I think there was enough butter that I didn't have any problems removing the squares with a little spatula after cutting them. And I really enjoyed cutting these squares. Cutting through the rice cereal was oh so satisfactory!
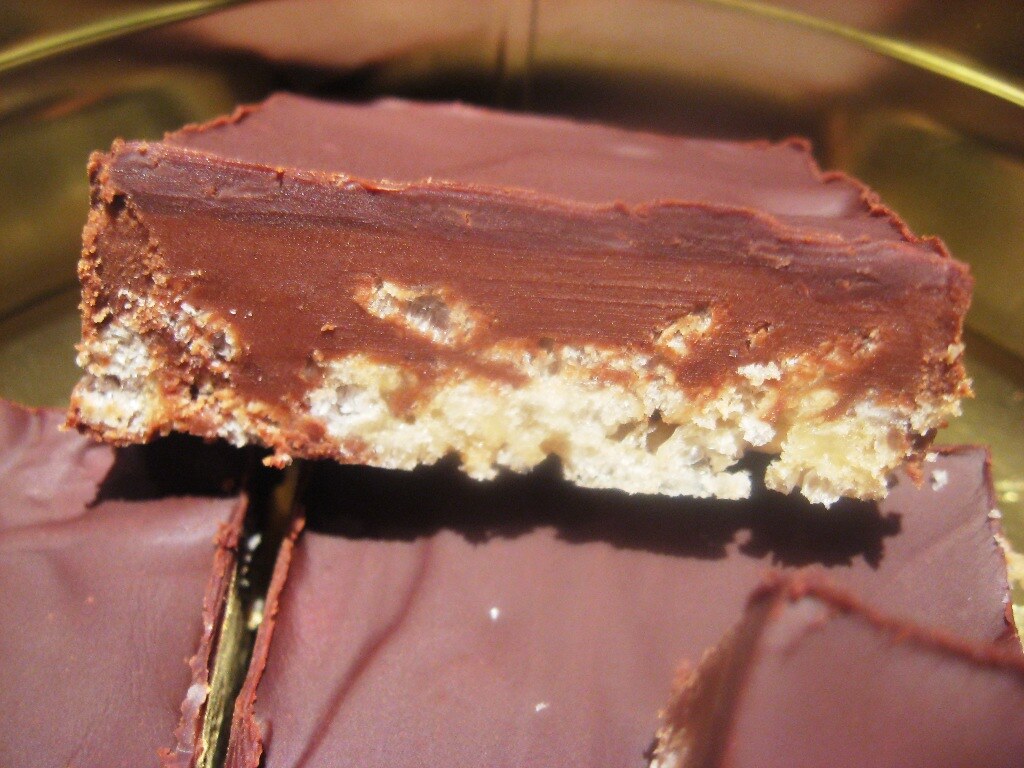
I definitely will make this recipe again. It was pretty easy, although you should plan for the two hours required to allow the two different layers to cool down. I will have take-aways from my first try and make them even better next time!


No comments:
Post a Comment