Wednesday, July 27, 2011

Lobster Ravioli

I was watching Diners, Drive-ins and Dives and saw the most decadent recipe: lobster ravioli! I quickly googled "Rino's Place" for the recipe but only found Rino's Special veal cutlet recipe, so I quickly scribbled down the ingredients for future reference. (I could also have watched the episode on youtube here.)

I really love lobster but have never cooked with it. When there was a lobster sale on Father's Day, I quickly went and bought 3 small ones at $4.99 each. I was hanging out with my friend T, so she made the pasta dough while I prepared the filling. It was a lot of work to get the lobster meat out of the shells, especially for someone inexperienced like me. However, the work was well worth it!
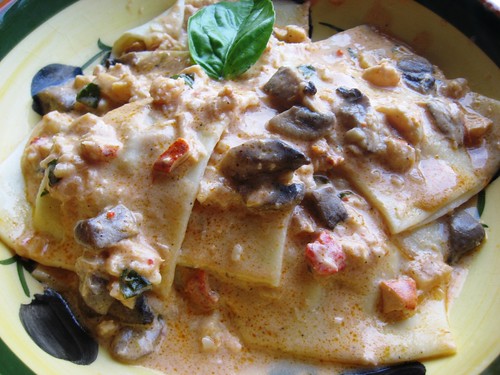
Lobster Ravioli

Lobster Ravioli - Makes about 3 dozen ravioli's (about 4-5 servings)
Adapted from Rino's Place on Diners, Drive-Ins and Dives. Watch the episode here.
You can make these ravioli's as small or large as you want. My friend T and I had 7 each and it was plenty. You could make less and serve 2-3 per person as a decadent starter! These would also be great with crab instead!

Lobster Ravioli
* olive oil
* 1-2 shallots, chopped
* 1-½ cups of cooked lobster meat, from 3-1lb. lobster (set aside ¼ cup or so of lobster meat for the sauce), or use canned lobster - chopped roughly
* parsley
* ½ lb. ricotta
* 3-4 Tbsp Parmesan
* salt, to taste
* pepper, to taste
* 6 pasta sheets - or make your own!

Cook shallots in olive oil on medium high heat.
Once the shallots have softened, add lobster meat and parsley.
Take
the pan off the heat and mix in the ricotta and Parmesan.
Taste filling and season with salt and pepper to taste.
On a pasta sheet laid out on the counter, add about a tablespoon or so of filling a couple of inches apart. (I was able to make about 12 ravioli's on one sheet but it depends on the size of your pasta sheet.)
Wet the pasta in between the filling creating the borders of the ravioli's so they seal properly.
Top off with another pasta sheet.
Around each mound of filling, press out on the wet area, making sure there are no air pockets in the filling.
Cut each ravioli out with a pizza roller.
Ensure the ravioli's are well sealed again (or they will open up in the water when cooking).
In a large pot of boiling water, cook the ravioli's for 7-8 minutes until they float up.
(If you are lucky enough to have extra, lay them individually on a baking sheet and freeze before cooking them. When they are frozen, place them in a sealed plastic bag.)
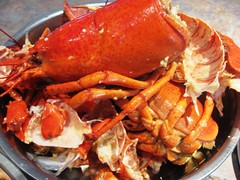
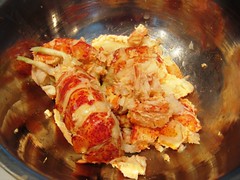
Lobster Shells Lobster Meat
Taking out fresh lobster meat was hard work but worth it!
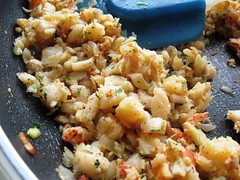
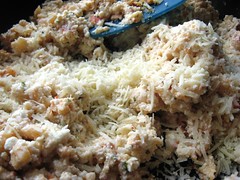
Sauteeing lobster Lobster filling
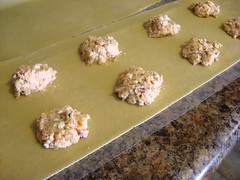
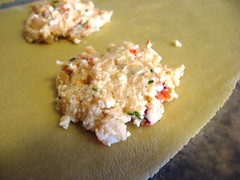
Making lobster ravioli Making lobster ravioli
Top: Sautéeing the lobster; adding cheese.
Bottom: Making the ravioli's.

Lobster Sauce - for 4 servings
If you want to make this sauce even more lobster-ey, cook the shells in the sauce and strain out. I didn't do this and it was still very good!

* oil
* chopped shallots
* minced garlic
* a handful of sliced mushrooms (optional)
* ¼ cup lobster meat that was set aside
* ½ cup tomato sauce
* 1 cup cream (heated in the microwave - this helps preventing from curdling)
* salt, to taste
* pepper, to taste
* a few basil leaves, chopped

Cook shallots and garlic in oil.
Add mushroom slices and cook on high heat.
When the mushrooms have softened, add lobster meat, tomato sauce and heated cream.
Turn down the heat and let the sauc simmer until it has slightly thickened.
Add salt and pepper to taste.
Add
basil last.
Place the ravioli's in a deep plate.
Top with the sauce.
Tada!
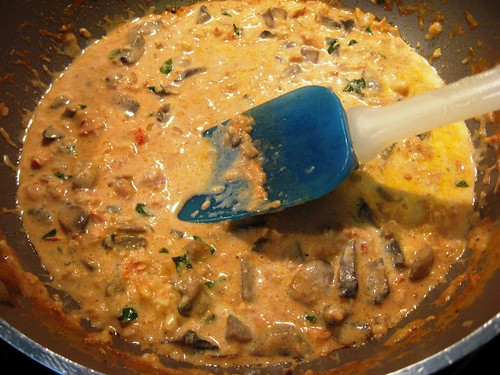
Making the lobster sauce

My friend T and I were so happy with the outcome of this dish. It felt like quite a treat between the lobster in both the sauce and the filling, and the fresh pasta! This recipe is definitely worth saving for special occasions or when lobsters are in season!
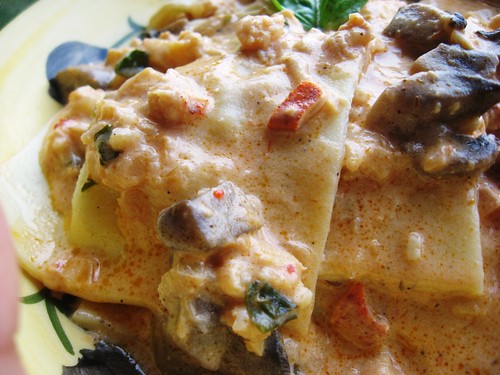
Lobster Ravioli
I wish I had this in front of me right now!
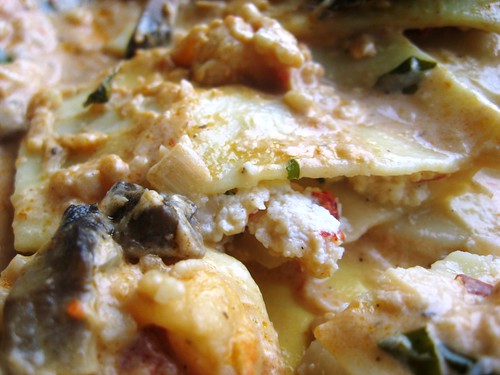
Cutting in the lobster ravioli
Slicing into the lobster filling!

For other lobster recipes:
* Lobster and Corn Soup
* Salt and Pepper Lobster
* Stir Fried Lobster with Ginger and Green Onion

Saturday, July 23, 2011

Café Vasco Da Gama (Montréal, QC)

1472 Rue Peel
Montréal, Qu
ébec
514.286.2688
website

I went to meet two of my friends during their lunch time. My friend D suggested Café Vasco Da Gama in between both their workplaces, in downtown Montréal.

Café Vasco Da Gama

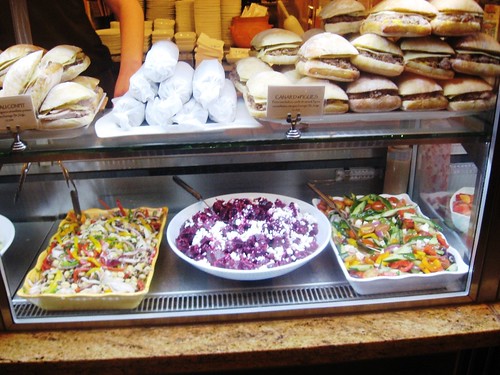
I got there right before the lunch time crowd to snag us a table. This small restaurant gets busy very quickly. Once you have a table, you wait in line to order. There are a variety of sandwiches, salads and baked treats. You pay, then go to your table with a number, and your lunch is served to you.

Café Vasco Da Gama

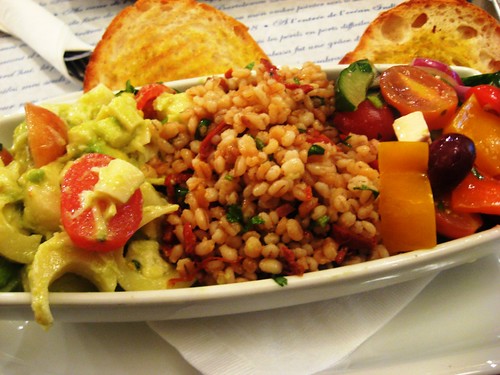
I decided to get a trio of salads ($10.25): hearts of palm and avocado, barley salad with sun-dried tomatoes and chorizo, and a Greek salad. I also ordered a salted cod fish cake, which I forgot to take a picture. The salty little treat was heated up and crispy.

Trio of Salads
Trio of Salads.

The trio of salads came with some bread slices. I loved all three salads. I've even tried to duplicate the hearts of palm and avocado salad with great success (recipe to come!). I liked the barley with salty bits of chorizo and sun-dried tomatoes. I ordered this another time, when the barley was replaced with orzo - also good, but not as healthy! I also enjoyed the Greek salad with large chunks of vegetables.

Hearts of Palm and Avocado Salad Greek Salad
Hearts of palm and avocado; Greek Salad.

If you're in downtown Montréal and are looking for a little spot to eat, Café Vasco Da Gama will definitely hit the spot! I also noticed that they serve tapas after 6 pm. I'll have to come back and try them out!

Café Vasco Da Gama on Urbanspoon

Tuesday, July 19, 2011

Cuisine Szechuan (Montréal, QC)

2350 Guy Street
Montréal, Québec
514.933.5041


My family in Montréal tried Szechuan for my mother's birthday back in March and really looked forward to take me. I am half Chinese on my father's side, more specifically Cantonese, so am not familiar with Szechuan cuisine.

[As a long side note - please skip if you're not interested: I just finished reading Shark's Fin and Sichuan Pepper: a Sweet-Sour Memoir of Eating in China by Fuchsia Dunlop. It was a very interesting read. "Chinese food" is really a general term that doesn't mean much considering how varied food can be from province to province. The book spends a large amount of time on Sichuan food since the author spent her first year in Chengdu. She then follows by cuisine in Hunan, Fujian, Hong Kong, Beijing, Kashgar, etc.

What was interesting was understanding Chinese cultures through food, such as one of the chapters callled "Only Barbarians Eat Salad", in which the author is frustrated that she has put effort in being open-minded about Chinese food and the feeling is not at all reciprocated. The book spans more than a decade of travel in China. Changes and events are discussed, and their impact on the food culture, such as the growing middle-class' purchasing power for delicacies like shark fin, pollution, the Communist regime and SARS. She also touches on how ethnic minorities are treated in China.


I thought the book came full circle. The author first opens herself up by trying all food. At a point, she realizes that she's moved on from being an open-minded adventurous eater to actually enjoying such delicacies as goose intestines. Finally, she becomes somewhat weary of eating Chinese food and yearns for simple food. I really liked the description of the progression of eating in China (p.303): first, 'eating to fill your belly' - this is eating as a means to stau alive, followed by 'eating plenty of rich food' - splurging to make up for years of deprivation and the final phase, one I think everyone should strive for, 'eating skillfully' -"eating with discernment, seeking out 'green food products', reducing their consuption of animal foods, and ordering less gluttonously in restaurants."
Each chapter ends with mouth-watering recipes related to the chapter, such as fish-fragrant aubergines (I've tried a recipe here.) and Dan Dan noodles. The book is also rich with descriptions of different foods - the one I was most intrigued with was guo kui.

I highly recommend this book if you're at all interested in Chinese food, and really China in general, since food plays such a large role in China.]

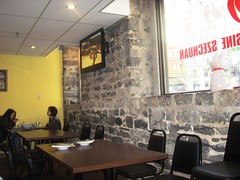
Cuisine Szechuan Cuisine Szechuan

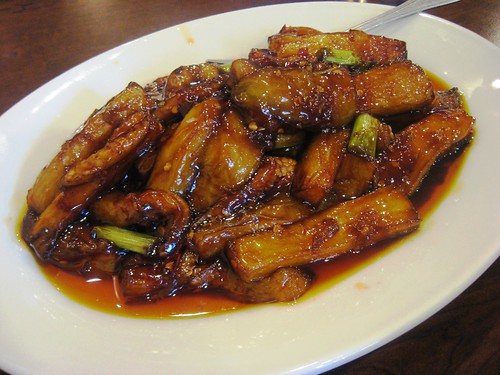
On to the food, speaking of fish-fragrant eggplant , I think we ordered the Yu Xiang Eggplant with Dou Ban Jiang (Yu Xiang = Fish Fragrant, Dou Ban Jiang= black bean sauce). I think because my sister couldn't recall what she ordered the last time since there were 3-4 eggplant dishes. The aubergines were slick with a sweet and sour sauce that we all enjoyed.

Eggplant dish
Yu Xiang Eggplant with Dou Ban Jiang ($7.99).

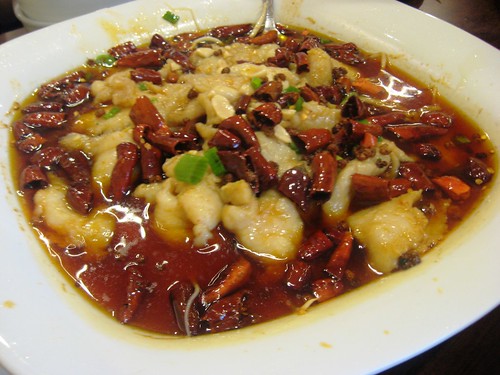
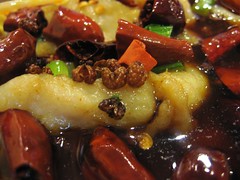
The dish that my family was excited to have me try was the tofu flower & sliced halibut in a chili pepper & Szechuan peppercorn broth. It consisted of slices of fish in a very spicy sauce. The heat came from both chilies and Szechuan peppercorn, which gave the sauce a very distinct flavour. Under the fish, were soy bean sprouts. This sauce was very, very spicy!

Szechuan Fish dish
Tofu flower & sliced halibut in a chili pepper & Szechuan Peppercorn Broth ($11.99).

Sprouts Szechuan peppercorn
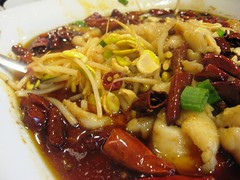
Soy bean sprouts and Szechuan peppercorns.

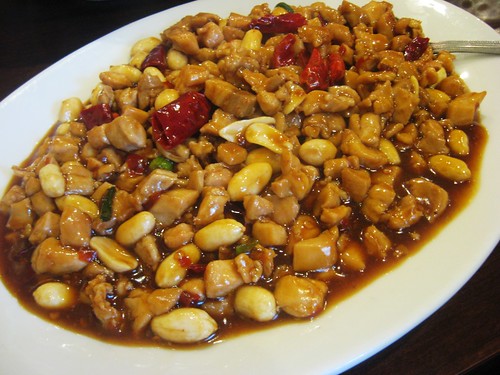
We also ordered the Kung Pao chicken. I don't remember it being overly hot, and it had a nice sweet and savoury sauce.

Kung Pao Chicken

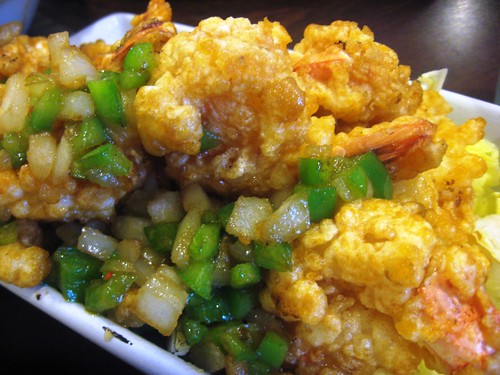
Finally, we ordered a fried shrimp dish that was totally disappointing. Nothing exciting about it and the batter was too thick.

Shrimp

I know that Szechuan food has been out there for a long time but it was the first for me. This visit, combined with reading Shark's Fin and Sichuan Pepper: a Sweet-Sour Memoir of Eating in China really inspire me to not only try Szechuan food but Chinese food from different regions.

Cuisine Szechuan on Urbanspoon

Sunday, July 10, 2011

Gà Nướng Chao - Fermented Bean Curd BBQ Chicken

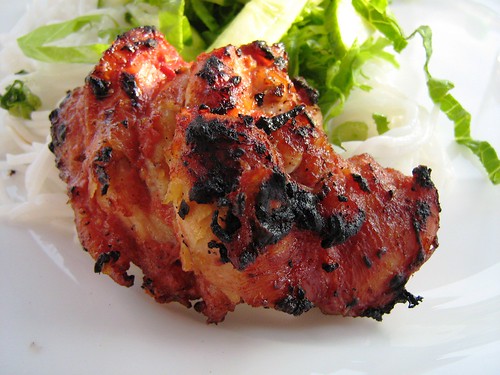
As I mentioned in the previous post (for the vegetarian mung bean noodle dish), one my sister's favourite dishes is Gà Nướng Chao, or fermented bean curd BBQ chicken. My mother uses the red bean curd, which leaves a nice red hue on the chicken. This recipe is quite simple as the bean curd is the main ingredient. The chicken is then grilled on charcoal.

Fermented Bean Curd BBQ Chicken

Gà Nướng Chao - Fermented Bean Curd BBQ Chicken - Makes 12 drumsticks
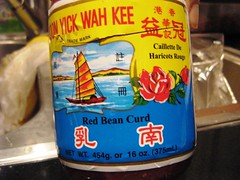
Red Bean curd can be purchased at Asian grocery stores in jars. My mom likes making this recipe with drumsticks but any part of the chicken will work.

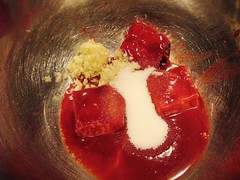
* 3 cubes of red fermented bean curd, and 1-2 spoonfuls of the liquid from the jar
* 1 Tbsp sugar
* 2 garlic cloves, minced
* 12 skinless drumsticks, sliced to the bone but not cut through

In a large bowl, add the red bean curd cubes, the liquid, sugar and garlic.
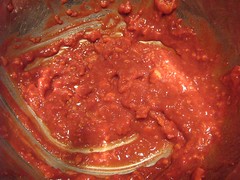
Mash the cubes with a fork and mix, creating a paste.
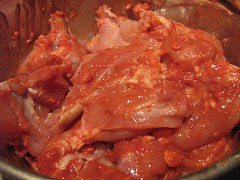
Add the chicken drumsticks into the bowl and slather the paste into every nook of the chicken drumsticks (that is why the drumsticks are sliced so there is more surface area for the marinade).
Marinate overnight (ideally) in the refrigerator or at least for 5-6 hours so the flavours seep into the chicken.
Take out the drumsticks 30 minutes before grilling so the drumsticks come up to room temperature.
Grill the drumsticks (not on too high heat, so on the periphery of your grill), about 5 minutes on each side, until cooked through.
Serve with bún.
Tada!


Red Bean Curd Red Bean Curd Cubes
Red Bean Curd Paste Chicken marinating in red bean curd paste
(1) Red bean curd jar (2) Red bean curd marinade ingredients (3) Red bean curd paste (4) marinating the chicken.

Not only does the red bean curd leave the chicken drumsticks with a red colour, it also imparts a distinctly bean curd flavour: salty and fermented. As my sister really enjoys this, it usually is a BBQ staple of ours when grilling Vietnamese food!

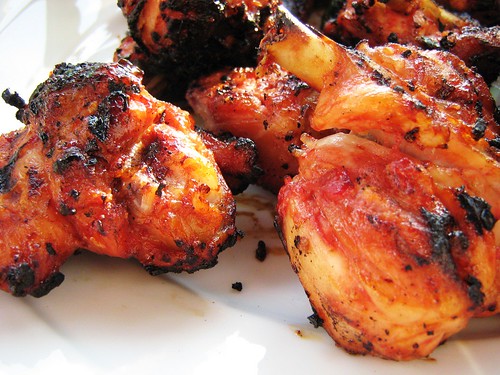
Fermented Bean Curd BBQ Chicken
It's really finger licking good and I love the char from charcoal!

I am submitting this to the July 2011 edition of Delicious Vietnam, a blogging event featuring Vietnamese food and created by A Food Lover's Journey and Ravenous Couple. It is hosted this month by Lan from Angry Asian creation. (For my other Delicious Vietnam recipes, click here).

For other Vietnamese BBQ recipes:
* BBQ Corn with Scallion Oil
* Bò Lá Lốt (Ground Beef stuffed Wild Betel Leaves).
* Bún Thịt Nướng (Grilled Meat with Rice Vermicelli)
* Gà Nướng Xả (Grilled Lemongrass Chicken)
* Nem Nướng (Pork Meatballs)
* Sườn Nướng Xả (Grilled Lemongrass Ribs)

Thursday, June 16, 2011

Bún Tàu Chay (Vegetarian Mung Bean Noodle)

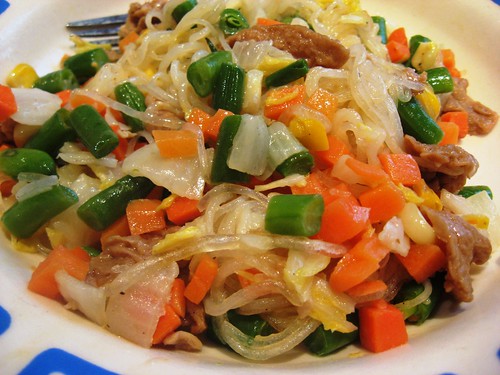
I have yet again neglected my little food blog. No excuses, but I do have a few posts planned. I have been making this vegetarian mung bean noodle (bún tàu = Chinese noodles, which refers to mung bean noodles and chay = vegetarian) dish fairly regularly recently. This is my mother's go-to dish during Lent, when we abstain from eating meat on Fridays. This is actually a vegan dish as it contains no meat products!

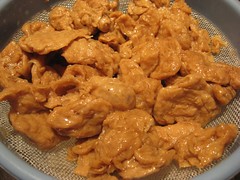
I love the combination of the savoury soy ingredients: fermented bean curd and fried gluten. Fermented bean curd, soft salty cubes of soy found in jars, is often used in Asian cuisine; we often have it in plain congee. My sister loves my mom's chicken marinated in fermented bean curd. Fried gluten, which comes in cans, is used to make faux/mock meat in Asian cuisine. Mung bean noodles (or cellophane noodles), another Asian ingredient, are made out of the starch of... mung beans, what else?

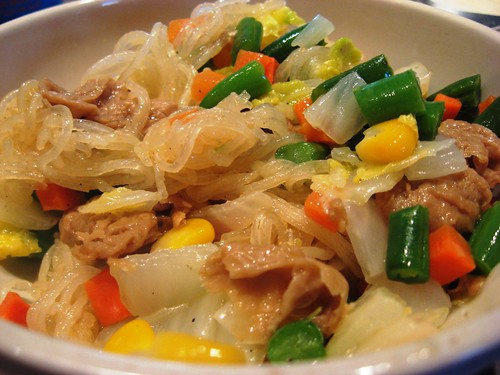
Vegetarian Mung Bean Noodles

Bún Tàu Chay (Vegetarian Mung Bean Noodle) - Serves 4
One of the reasons it took me a long time to write this post, was that I wanted to figure out how to best cook the noodles. I've tried soaking them and they get too soggy so you just want to rinse them and have them a bit wet. You can add any vegetables you prefer. Mushrooms would be a great addition! Fermented bean curd is quite salty, so you probably won't need to add salt.

* oil
* ¼ or so of a napa cabbage, sliced ½" thick
* 3 or 4 small bundles of mung bean noodles (I like to buy mung bean noodles in a package of small little bundles)
* 6 cubes of fermented bean curd, or to taste
* cooked/thawed frozen vegetables of your choice (I sauteed some green beans, corn and carrots beforehand)
* 1 can of fried gluten, drained (I don't rinse it because I like the flavouring)

Heat up oil in a large pan.
Add the napa cabbage and cook for a few minutes; it will release some liquid.
Quickly rinse the mung bean noodles and add to the cabbage.
Mash the fermented bean curd so it becomes a thick paste, adding a bit of water if needed.
Pour the bean curd paste on the noodles and cabbage, and mix.
Once the cabbage is cooked, add the vegetables and fried gluten.
Taste and season to taste, adding salt or more bean curd.
Tada!

Bean Curd and Fried Gluten Fermented Bean Curd
Fried Gluten Mung Bean Noodles
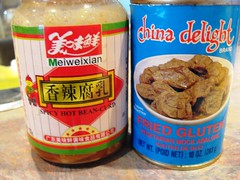
From top left clockwise: (1) jar of fermented bean curd and can of fried gluten (2) cubes of fermented bean curd (3) mung bean noodles and (4) straining the fried gluten.

Vegetarian Mung Bean Noodles

When you have excessively eaten meat, this is a great dish to get back to eating healthy and light! It has quickly become a new savoury favourite dish for dinner.

Another mung bean noodle recipe:
* Vietnamese Chicken Bean Thread Noodle Soup

Sunday, May 15, 2011

BBQ Kale Chips

I'm not very proud of my special ability of downing a whole (large) bag of potato chips. I've mentioned before that my weakness is salt. I get a pretty strong craving for salt daily, hence my love for chips. However, I have tried to cut back for 2011. No more large bag of chips for me! So I was really excited to try this kale chip recipe from one of my favourite lifestyle blog Sterling Style.

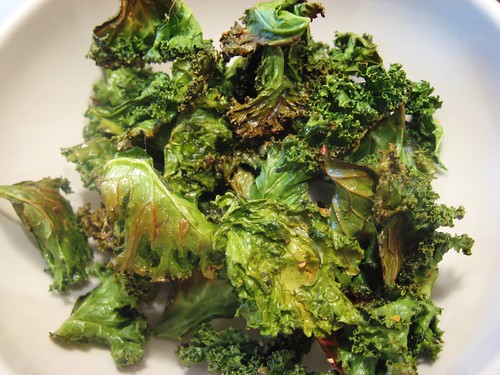
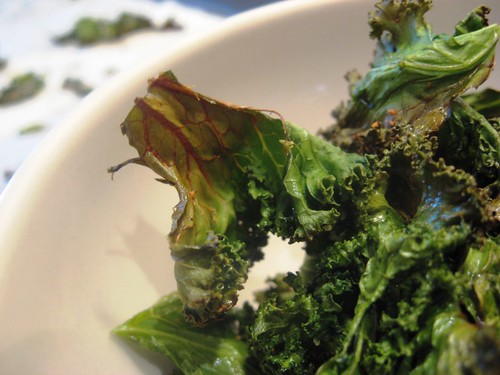
Bowl of kale chips

BBQ Kale Chips
Adapted from My Father's Daughter by Gwyneth Paltrow, via Sterling Style.
I first tried this with salt, garlic powder and cayenne pepper. I then went looking for Cajun seasoning but could only found a spicy mesquite. I very much prefer the mesquite to salt.

* a bunch of kale
* olive oil
* spicy mesquite seasoning, seasoning of your choice or simply just salt

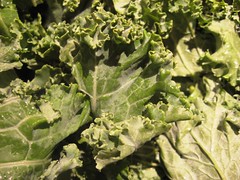
Thoroughly clean the kale leaves.
Dry the leaves - I used a salad spinner.
Cut the leaves off from the thick stem.
Tear the leaves in small 1-2" pieces.
Place the kale pieces in a large bowl.
Drizzle with olive oil, while mixing the leaves so they get coated evenly.
Season lightly with your choice of seasoning or salt. (Do this carefully. I over-salted my first two attempts. It may seem like a lot of kale but they shrink down to nothing.)
Spread on two parchment-lined baking sheets.
Bake for 10 minutes or so at 375F (I switch the baking sheets halfway through), or until the leaves are dried out and crunchy - if you leave them too long, they become brown and slightly bitter.
Tada!

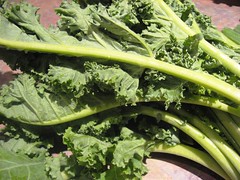
Kale Pieces of kale

The kale chips did a great job of satisfying my craving for salt. The kale gets a really crunchy texture too. Kale has a pretty distinctive taste and I wasn't sure I was going to get past it. These kale chips have really grown on me and are addictive! I now have a new ability: eating a whole bag of kale chips!

IMG_2157
Crunch and saltiness without the guilt!

Another healthy snack:
* Roasted Chickpeas

Saturday, May 7, 2011

Nigella's Nutella Cake

A while back, I read Sweet Artichoke's take on Nigella Lawson's Nutella Cake. First of all, I have mixed feelings about Nigella. I started out really liking Nigella, a beautiful woman making simple recipes. Then, with Nigella Express, encouraging the use scissors instead of chopping with a knife, it seemed she was bringing oversimplification to a ridiculous level. Having said all of this, this recipe really appealed to me because 1) it involves Nutella (I'm a sucker for Nutella and I always look forward to spending time with the empty container making sure it's really clean...) and 2) it's simple! Not only that, but it was a big hit with my friends!

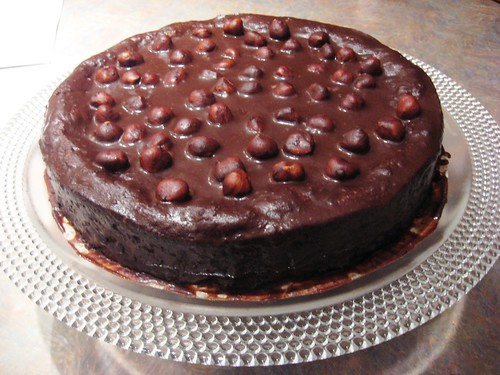
Nutella Cake

Nigella's Nutella Cake - Serves 8

Adapted from Nigella Lawson.
Since I made the recipe a while ago, I'm not sure changes I made were deliberate or not, such as dipping the hazelnuts in the ganache first (I think deliberate) and using 10% cream instead of whipping cream (that was definitely not deliberate and caused my icing not to be as thick as it should have been).

For the cake:
* 6 large eggs, separated (at room temperature)
* pinch of salt
* 125g (½ cup or 1 stick) soft unsalted butter, softened at room temperature
* 400g Nutella (1 jar)
* 1 Tbsp Frangelico, rum or water
* 100g ground hazelnuts (I ground them myself, skin on because I couldn't find them skinless)
* 100g dark chocolate, melted (microwaved or over simmering water)

Preheat the oven to 350F.
In a large bowl, whisk the egg whites and salt until stiff but not dry.
In a separate bowl, beat the butter and Nutella together, and then add the Frangelico, egg yolks and ground hazelnuts.
Fold in the cooled, melted chocolate, then lighten the mixture with a large dollop of egg white, which you can beat in as roughly as you want, before gently folding the rest of them in a third at a time.
Line a 9" springform pan with parchment paper.
Pour into the prepared tin and cook for 40 minutes or until the cake's beginning to come away at the sides, then let cool on a rack.

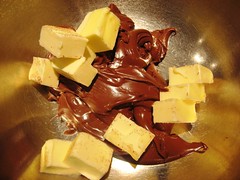
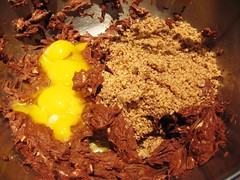
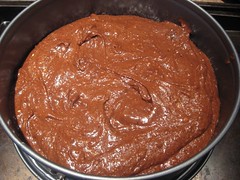
Nutella and butter Making the batter Adding the egg whites Ready to bake
Making the batter: (1) mixing the Nutella and butter, (2) adding the egg yolks and ground nuts, (3) adding the egg whites and (4) in the springform pan, ready to bake.

For the icing:
* 100g hazelnuts (I couldn't find skinless ones and it was too much effort to peel)
* ½ cup 35% cream
* 1 Tbsp Frangelico, rum or water
* 125g dark chocolate

Toast the hazelnuts in a dry frying pan until the nuts are golden-brown in parts: keep shaking the pan so that they don't burn on one side and stay too pallid on others.
Transfer to a plate and let cool. (This is imperative: if they go on the ganache while hot, it'll turn oily.)
Over a simmering pot of water, add the cream, liqueur and chopped chocolate in a bowl, and heat gently.
Once the chocolate's melted, take the pan off the heat and whisk until it reaches the right consistency to ice the top of the cake.
Unmould the cooled cake carefully, leaving it on the base as it will be too difficult to get such a damp cake off in one piece.
Ice the top with the chocolate icing, and dot thickly with the whole, toasted hazelnuts (I dipped them in the ganache first and also iced the sides).
Tada!

If you love hazelnuts or Nutella (they go hand in hand, don't they?), this is the cake for you. I liked the added texture of the ground hazelnuts. It is a flourless cake, so it is dense and very moist. It's definitely a recipe I will repeat (maybe with shortening for my mom).

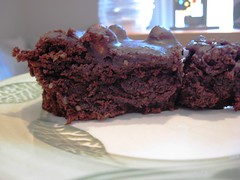
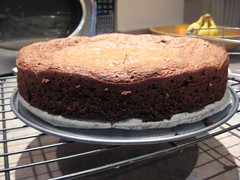
Cake before icing Slice of cake
Before icing the cake and a slice of cake (I didn't take pics when we cut the cake so that's a leftover piece...).

For other hazelnut related recipes:
* Lemon Hazelnut Tiramisu
* Chocolate Hazelnut Biscotti

Sunday, May 1, 2011

Fried Polenta and Mushrooms

I know I wrote that I would be better at updating my blog. Unfortunately, my laptop got a virus and was down for a few weeks. Waah-waah! But I hope May will be my more successful month in an unsuccessful 2011. So a few weeks (months?) back, I invited a couple of friends over for lunch before we headed to the home show to see Sarah Richardson (I'm a big fan of all of Sarah's HGTV shows and her design style). I decided to attempt making fried polenta and served with mushrooms. It was easy and quite successful!

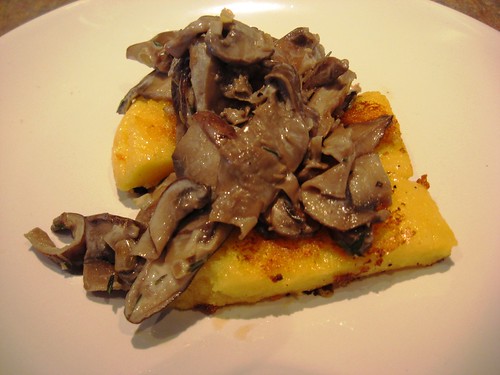
Fried Polenta and Mushrooms


Fried Polenta and Mushrooms - Makes 8 triangles

Adapted from Honest Fare.
While I liked that the original recipe has mushrooms in the polenta, I wanted to serve a mushroom sauce over the polenta triangles.


For the polenta:
* ½ cup cornmeal
* 2 cups water
* salt to taste
* pepper to taste
* ¼ cup Parmesan

Bring 2 cups of water to an almost boil in a large pot.
Lower heat and slowly add ½ cup of polenta while stirring so it doesn’t clump (this is an important step and caused me to throw out my first batch because I felt there were lumps).
Stir until polenta is creamy and begins to thicken.
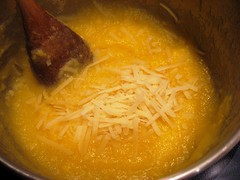
Add salt (start with a ¼ teaspoon and add more to taste) and ¼ cup Parmesan cheese. Continue cooking and stirring for about 10 minutes.
Remove from heat.
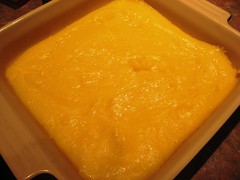
Line 9" x 9" pan with parchment paper.
Spread polenta evenly across using back of a spoon or spatula.
Cover with another sheet of parchment paper.
Flatten, smooth and form nice edges by gliding your hands across top of parchment paper. Put in fridge to cool for at least 1 hour (or overnight).
Once a solid polenta slab has formed, cut out the cakes into squares, triangles, circles or whatever shape desired.

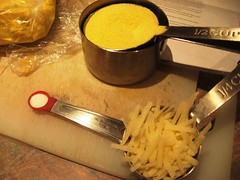
adding cheese to the cornmeal
polenta Polenta triangles
Preparing the polenta.

For the mushrooms:
* oil
* 1 shallot, diced small (or ½ onion)
* 2 handfuls of your favourite mushrooms, sliced
* 2 thyme sprigs
* Marsala wine (optional)
* salt and pepper
* cream

In a large saucepan, heat up the oil on medium heat.
Add the shallots and cook until softened, about 1-2 minutes.
Add the mushrooms and thyme leaves.
Season with salt and pepper.
Add marsala wine if using.
Add a bit (or more to make it saucier) of cream.
Once the mushrooms are cooked, set aside.

Putting everything together:
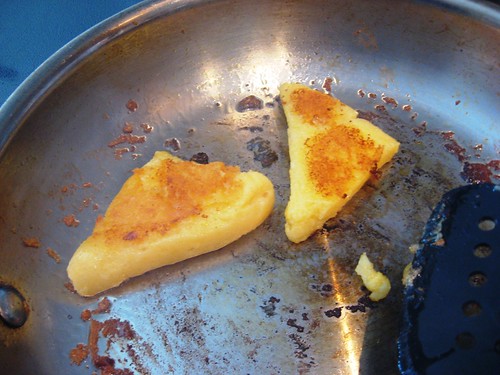
Coat bottom of pan in olive oil and heat to medium high heat (it has to be high enough or it will stick).
Place a cake on the pan and DON’T move it.
Let it fry for 2-3 minutes per side untouched.
Flip and repeat.
Drain on paper towels.
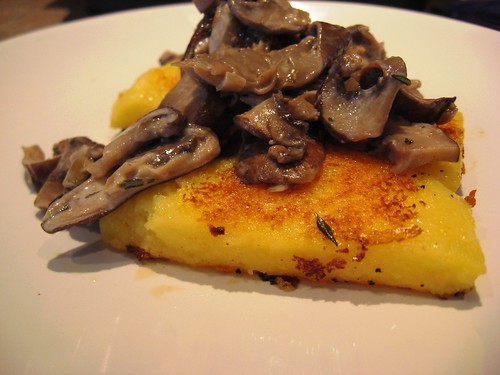
Top with mushrooms.
Tada!

Frying polenta
Frying the polenta.

I would definitely make this recipe again and would consider making small dainty portions to serve as an appetizer. I still really like the idea of mushrooms in the polenta and would try that next time. While mushrooms is often served on polenta, so many other vegetables, such as asparagus could also be served on top.

Fried Polenta and Mushrooms
A delicious vegetarian dish!