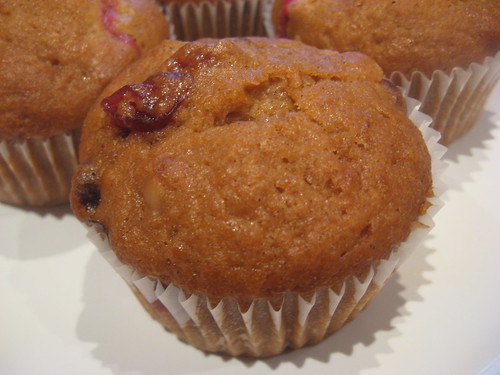
I had a couple of recipes in mind when I made the pumpkin purée, one of which was pumpkin bread. I thought it would be a nice treat for my mom and H, when they arrived for Thanksgiving weekend. I couldn't decide between making the bread or muffins. I ended up making the bread, and halfway through baking it, also making muffins.
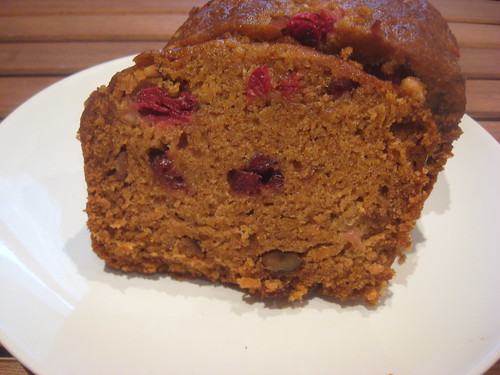
The recipe that first inspired me to make pumpkin bread was Orangette's Pumpkin Bread with Roasted Hazelnuts while I was browsing recipes on Saveur.com (yours truly was also featuredfor mygrilled pizza recipe!). However, I was looking for a dairy free recipe because my mom doesn't like dairy so I found a vegan recipe. My mom preferred the muffins because she thought the bread was too moist. I really enjoyed both and thought the spices made it taste like pumpkin pie. The pumpkin purée added a nice tinge of yellow to the muffins. I would probably choose muffins over bread because it takes half the time to bake.
Super Moist Pumpkin Bread & Muffins - Makes 12 muffins or one bread Adapted from Post Punk Kitchen and Orangette. I cut the white sugar in the recipe and didn't miss it - I think the sugar could be further reduced to taste. I liked the idea of adding roasted hazelnuts mainly because my mom really likes them. I also added cranberries since it seemed timely for Thanksgiving.
½ cup hazelnuts, or to taste 1-¾ cups all-purpose flour 1 cup packed dark brown sugar 1 teaspoons baking soda ½ teaspoon salt ½ teaspoon ground nutmeg ¾ teaspoons ground cinnamon 1 cup pumpkin purée ½ cup vegetable oil ⅓ cup coconut milk ½ cup cranberries, or to taste ¼ dried cranberries, or to taste
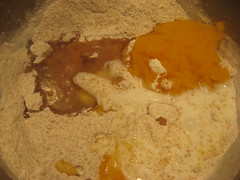
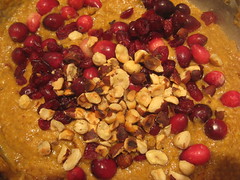
Roast hazelnuts in a hot pan until golden brown. In a large bowl, stir together the flour, brown sugar, baking soda, salt, nutmeg, and cinnamon. Add the pumpkin purée, oil, and coconut milk, and mix until all of the flour is absorbed. Fold in the toasted hazelnuts, fresh and dried cranberries. For pumpkin bread: Bake for 1 hour until a toothpick inserted in the center comes out clean. For muffins: Bake for 30 minutes until a toothpick inserted in the center comes out clean. Cool on a rack. Tada!
Making the batter and adding cranberries and hazelnuts.
My friend Trapezista and I chat on Facebook regularly. We recently chatted about our plans for Thanksgiving and both wanted to try pumpkin recipes. However, Trapezista likes me to test recipes first, test them and post them. She can then read my posts and decide if a recipe is worthwhile (did I get that right, D?). So here is the requested post on pumpkin purée.
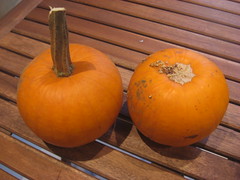
Most pumpkin purée recipes called for sugar pumpkins. I found some small pumpkins at the Westdale Farmer's Market on my way back from a game of squash (squash! funny!). After asking about whether I could use these pumpkins for purée's, the helpful "farmer" informed me that any pumpkin can be used. However, a pumpkin retains the same total amount of sugar. Therefore, the smaller the pumpkins are sweeter than the larger ones. I asked another lady at the Hamilton Farmers' Market about pumpkin purée and using squash instead. Her answer was that any squash could be used but would not provide the distinct pumpkin flavour. So what's the short answer? Use small pumpkins for pumpkin purée's, but squashes can also be good substitutes.
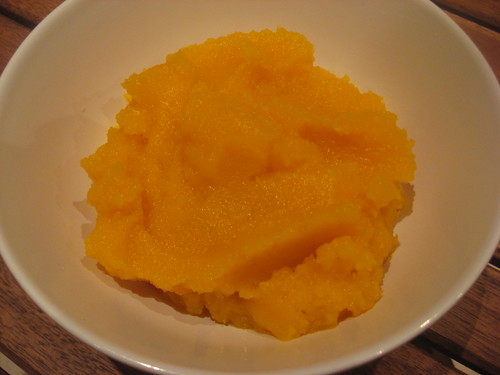
Pumpkin Purée - makes about 4 cups Here are three points I want to make about pumpkin purée: 1) Some of the pumpkin purée recipes I found on the internet amused me because they advised that the final product should be like canned pumpkin purée. But I have never bought pumpkin purée nor have I ever seen it! 2) I cooked the pumpkins (about 45 minutes) until I could pierce them with a fork, thinking they were cooked. The pieces of pumpkins were still too hard to purée properly so I had to add water. I then had to cook the mixture for another 30 minutes further to decrease the water content. I also picked out pieces of pumpkin I spotted. I would bake the pumpkin longer (maybe another 30 minutes) until the pumpkin can be mashed with a fork. 3) Many recipes suggested putting the mixture through a sieve. I was too lazy. I wanted to make pumpkin bread and so a perfect purée was not necessary. This may be different for a pumpkin pie, which requires a smooth texture.
2 pumpkins, about 4 lbs oil or water
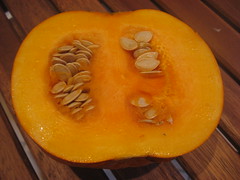
Wash pumpkins (mine were dirty). Slice pumpkins in half. Drizzle cut surfaces with oil or water so it does not dry out. Bake pumpkins for 1 hour 15 minutes until very soft. Remove seeds and scoop out the pumpkin flesh. (Mine was too hard to scoop out so I peeled the pumpkin and cut the flesh into pieces.) Purée the pumpkin in a food processor. (If the pumpkin pieces are too hard to purée on their own, add water. Cook down the mixture until there is no water.) The final product should be thick, like... canned pumpkin purée! Tada!
I love the smell of fresh cut pumpkins.
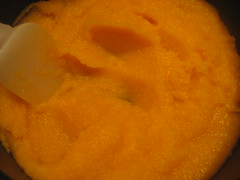
You can see the chunks are a bit on the hard side and I had to cook my mixture to decrease the water.
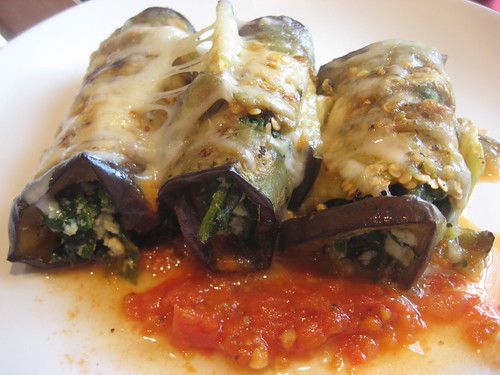
As I tried to clear my freezer for the upcoming Thanksgiving, I found a half container of ricotta. I'm very predictable and only use ricotta with spinach for Roasted Vegetable Lasagna Rolls or sometimes to stuff pasta shells. This time I wanted to try make a no carb version of the lasagna dish, eggplant rollatini.
Eggplant Rollatini - makes about 12 rollatini My sister commonly makes this dish so I asked her for advice on how to cook the eggplant slices. I think she said boiled or grilled. I thought grilling eggplant seemed like the better option considering how much I liked grilled eggplants on its own. I think I sliced the eggplant slices (about ¼") too thin and they would tear.I was still able to roll them but would consider slicing them thicker (just note that this would result in a small number of rollatini's).
1 eggplant, sliced ½" thick oil salt and pepper, to taste Italian seasoning to taste spinach and ricotta filling tomato sauce, homemade or store bought mozzarella cheese, grated
Drizzle oil over the eggplant slices and season with salt, pepper and Italian seasoning. Grill until cooked and softened. Spoon some of the tomato sauce at the bottom of a 9"x9" baking dish.
Place an eggplant slice on a flat surface, like a cutting board
Spread a spoonful or two of the spinach mixture.
Roll up the eggplant slice and place on the tomato sauce.
Repeat with the remaining eggplant slices.
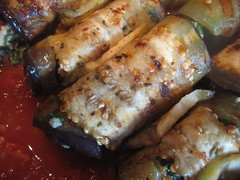
Sprinkle the rollatini's with grated mozzarella.
Bake in the oven for 350C until the cheese has nicely melted.
Tada!
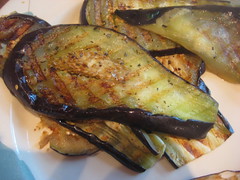
Grilled eggplant slices.
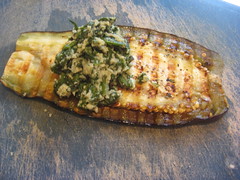
Simply roll the eggplant slice with the ricotta-spinach mixture.
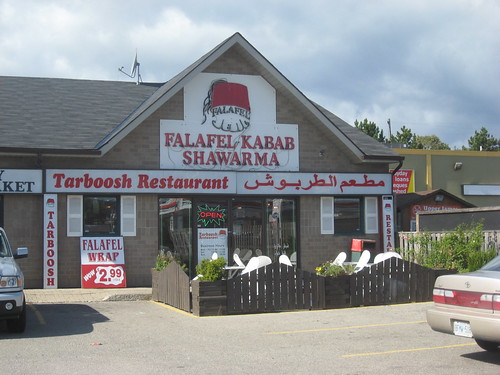
70 Upper James Street Hamilton, Ontario 905.388.8864
It's always nice to find a meal for less than $5. Tarboosh Restaurant advertises their $2.99 falafel wraps so I thought I would check it out. I have previously been to Tarboosh but usually have a more expensive chicken sandwich.
So in these hard economic times, it seems suitable that I go for the more affordable option. I ordered the falafel sandwich in the middle of the afternoon. I was expecting a long wait after reading the restaurantica reviews. It took about 5 minutes, not too long, but not immediate, considering I was their only customer.
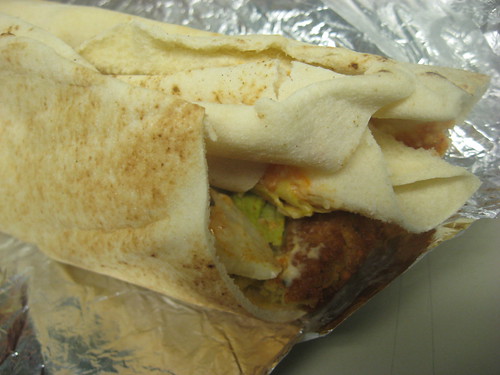
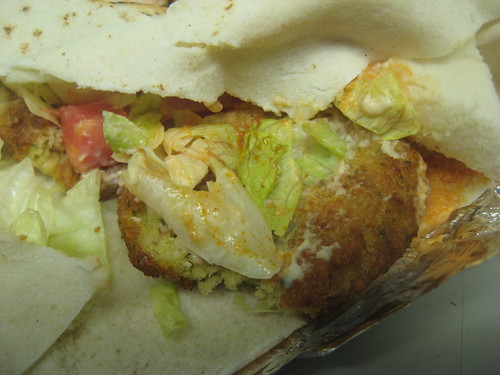
$2.99 falafel wrap.
I was asked if I wanted hot sauce and I said yes. It added a good amount of heat that I liked, which is probably a bit too much for the average palate. The wrap was filled with 3 falafels, tomatoes and lettuce. The falafels were good; the last time I had falafels was in Vietnam over a year ago. Can't complain for $2.99! I have my eye on the magic wrap, that is a bit more expensive, but also includes deep fried cauliflower!
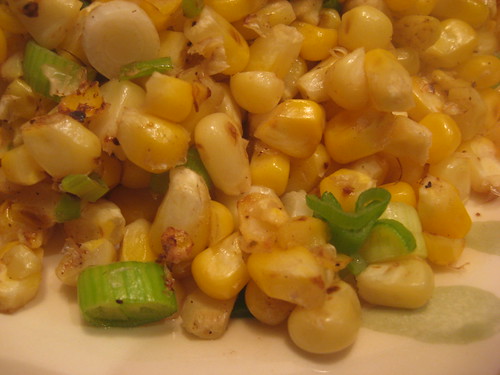
Ok, this should be the last post on corn for the season. I remember when I was younger, my paternal grandmother cooking some corn for me. I just loved the nicely browned kernels, and the combination of sweet and salty. My grandmother passed away years ago, and I wasn't especially close to her, so I don't know the recipe. I can only guess there was soy sauce or fish sauce involved. I don't know if she added sugar, or if it was just the sweetness of the corn. Anyway, I recently started to make my own version of her dish. I have seriously been eating this every week since corn has been in season.
Sautéed Corn This is so easy and there are only 5 ingredients. Sometimes, I also throw on eggs for an omelet, making it a perfect breakfast, lunch, or even dinner! I've only used fresh corn for this dish, but I may try to use my own frozen kernels in the winter.
oil corn kernels, from one ear salt, to taste red pepper chili flakes (optional) green onion, sliced thinly
Heat oil in a pan (medium-high). Add corn kernels and cook until they start browning. Season with salt and red pepper chili flakes. Throw in the green onion until soft. Tada!
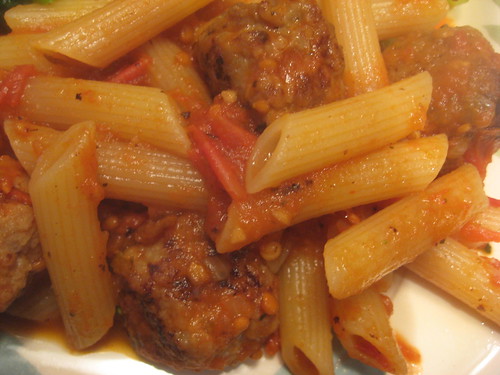
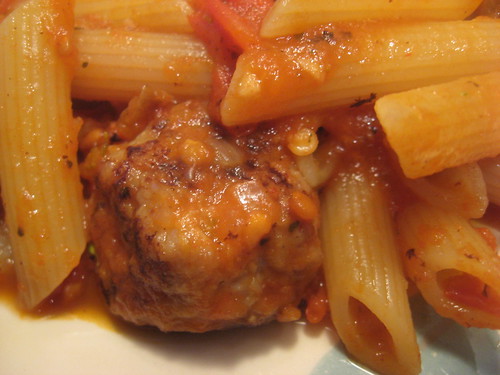
I was in the meat aisle, wondering what meat to eat when I saw ground turkey. I regularly have turkey sausages, but never buy ground turkey. I have bought ground chicken, but not often either. Interestingly, ground turkey is healthier than ground chicken because chicken skin is usually ground up with the meat (this, I learned on Oprah!). So I bought the lean turkey to make meatballs. It was really good and I think I might even prefer it than ground beef meatballs (not sure about ground pork though!)
* 2-3 tbsp breadcrumbs (I used panko because that's all I had) * 1 tbsp honey
* salt and pepper, to taste
* 200 g (about ½ lb) ground turkey
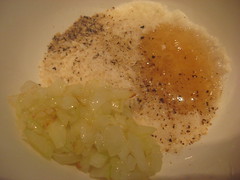
Cook onion in oil, until softened and set aside. In a small bowl, combine breadcrumbs, cooked onions, honey, salt and pepper.
Stir with fork until smooth.
Add the ground turkey and mix.
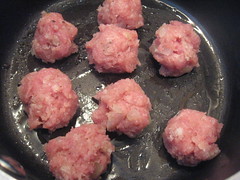
Test the seasoning by frying one meatball and tasting it.
Adjust the seasoning as required.
Shape into small meatballs (about 12) and fry the remaining meatballs in a bit of oil - alternately, they can be baked. Serve in tomato sauce with pasta. Tada!
Panko breadcrumbs, cooked onion and honey go into the meatballs.
It's been corn season for a month or so and I've been on a corn kick! I've had it on the cob (for quick cooking, run an ear through water and microwave for 5 minutes), slathered with scallion oil, as a salad, added to chili or quickly stir fried with some onion. There's nothing like eating sweet corn at the end of the summer, so much so, that I decided to cut kernels and freeze them for the winter.
Freezing Corn
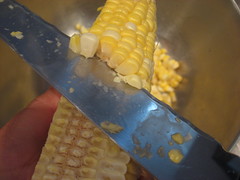
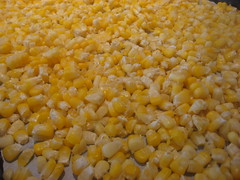
I really like canned corn but I don't like the added sugar to it. Frozen corn has no sugar added but I don't like it as much - mainly because it's not as sweet. I thought I could save some sweet summer corn by freezing them myself! I'll find out this winter if it was worth the effort. Slice off kernels off the cob with a large knife, into a bowl. Save the core of the corn for vegetable broth. Separate the kernels with your hands. On a baking sheet lined with parchment paper, spread the kernels. Freeze overnight or until they get hard. Put kernels in a bag and place in the freezer.
Enjoy when corn is no longer in season.
Slicing kernels off for freezing.
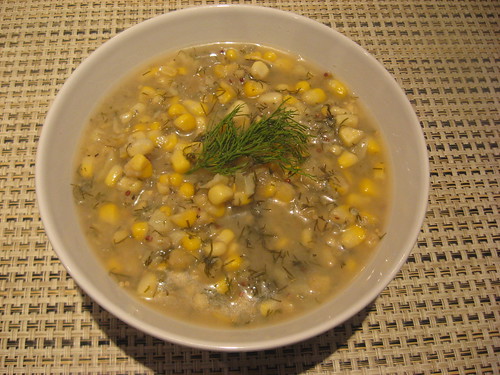
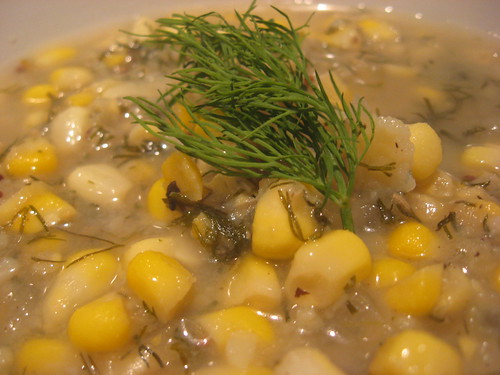
Corn Soup with Dill
I remember this recipe from my days living with ex-roommie Trapezista. I really liked the unusual pairing of corn with dill.The recipe was originally a cream of corn but I replaced the cream with milk. Feel free to make it creamier with... cream! Using skim milk made the soup rather runny, but still enjoyable nonetheless.Adding a cooked potato does help thicken the soup.
oil 1 small onion, chopped small
2 cups corn kernels, fresh or frozen
1-2 cloves garlic, minced ½ cup dill salt and pepper, to taste 5 cups veggie stock 1 bay leaf 1 cooked potato
½ tsp dry rosemary
½ tsp dry basil
1 tbsp dijon mustard
1 cup milk (or cream)
Sauté the onion in oil. Add the corn, garlic and dill. Season with salt and pepper. Pour in the stock and add the bay leaf.
Add the cooked potato, rosemary, basil and mustard.
Pour in the milk. Taste and adjust seasoning.
Blend if you'd like (I just realized writing this that I totally neglected this step!). Tada!
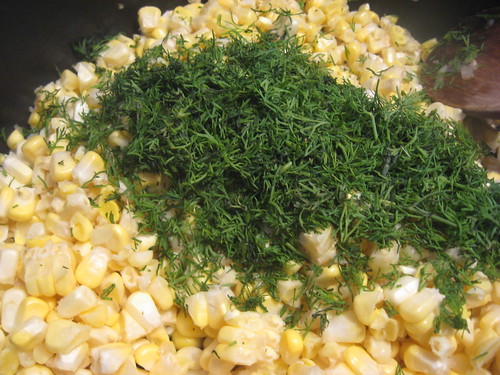
Corn and dill.
The sweetness of the corn should really come through!
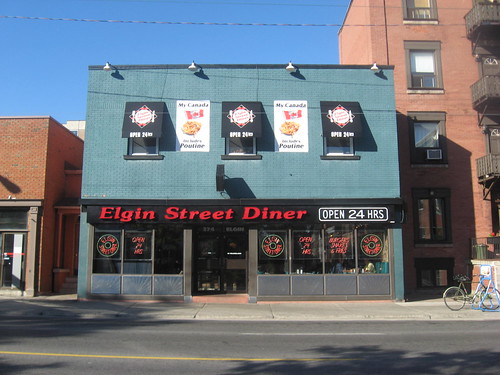
374 Elgin Street Ottawa, Ontario 613.237.9700 website
On my last day in Ottawa, my sister and I headed out for breakfast, before she started classes and before my long drive back to Hamilton. My sister suggested going to the popular Elgin Street Diner. If you ever go for breakfast here on the weekend, you will likely have to wait in line. However, we were there on a Wednesday morning and there was no waiting involved.
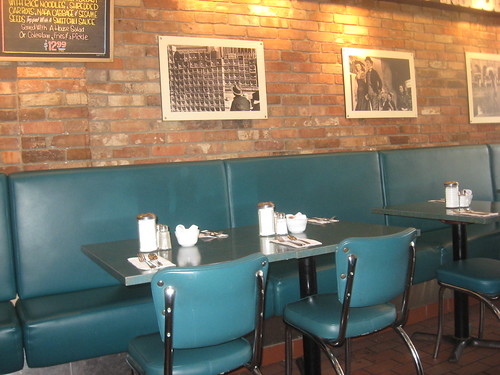
I love the authentic diner furniture.
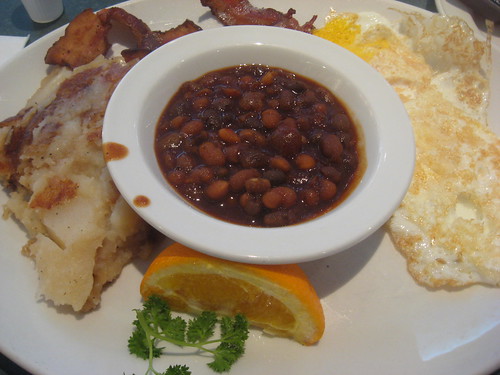
I had been to this diner once before and my one memory was not really liking the mashed up, home fries. What I did not remember was the prices of the breakfast combos. Slightly higher than I expected but not too bad since they all include coffee. We both got the breakfast special ($7.99) that included two eggs, bacon, home fries and baked beans. I actually liked the home fries this time, mainly because of a spice in it - I think fennel. I'm not a fan of baked beans but did not mind them either (although I definitely did not eat all of it!).
Breakfast special for $7.99.
I was tempted to try out the hangover special, which includes poutine instead of home fries. However, I couldn't justify the extra $4. I'm glad I didn't because there was no way I could have finished it. Maybe next time, when I have a more empty stomach and a fuller wallet.
308 Dalhousie Street Ottawa, Ontario 613.789.9188 website
After my visit to Montréal, I drove to our nation's capital Ottawa with my sister L. She is going back to university to become a high school teacher. Another engineer changing her career! I spent a couple of days there for moral support and we got to eat out a couple of times. On our first evening there, we dropped off some of L's things and went to look for dinner. We walked by Parliament Hill and headed off to ByWard Market. We agreed on Indian and ended up at Shafali Restaurant.
Parliament Hill.
Ottawa is very pretty!
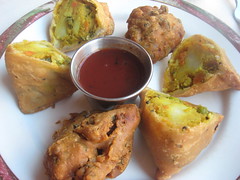
After going back and forth, we decided to go for a vegetarian combo meal for two. We started off with a plate of appetizers, consisting of pakora's and samosa's. My sister and I can never resist Indian appetizers! Both were served with a tamarind sauce.
Starter of pakora and samosa.
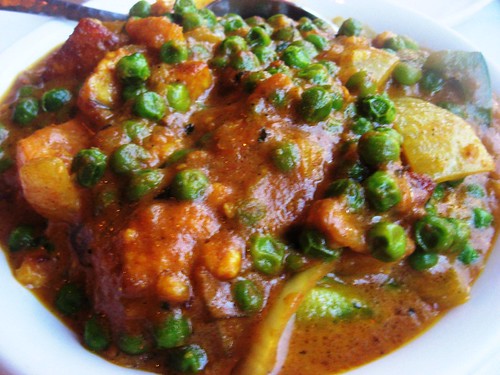
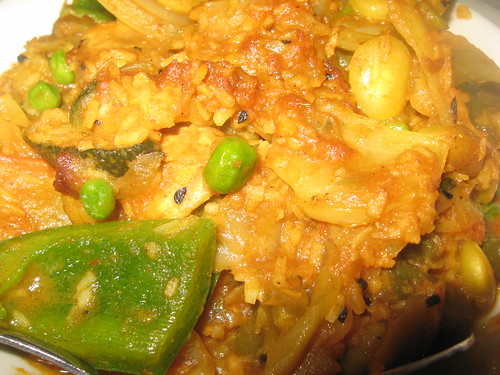
Our combo included two curries and rice. We asked to change one of the curries to matar paneer (one of our faves!)and the waiter was happy to oblige. The second curry that was included was podiyal, a South Indian vegetable with coconut dish. We had never tried it before and it was good. You could really taste the coconut. There were no leftovers after this meal!
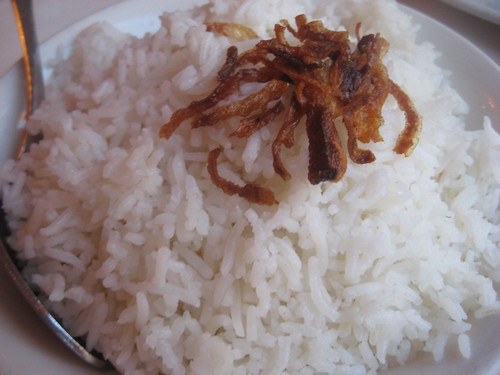
Rice with fried onion. Yum!
Matar paneer.
Vegetable podiyal.
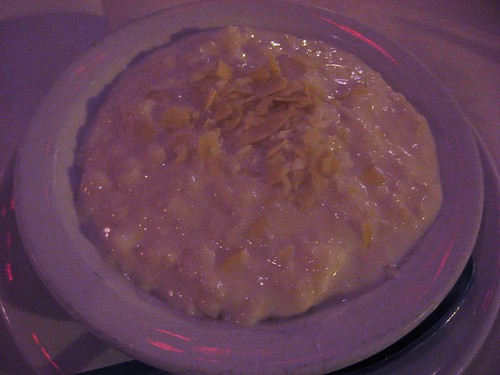
After we finished our curries, the waiter came up to us and asked if we preferred gulab jamun or payesh for dessert. My sister likes both desserts and I definitely have a weak spot for payesh (rice pudding) so we had the rice pudding. Even though we were both stuffed to the gills, we managed to finish our rice pudding. It was creamy and not too sweet. Perfection! My sister told me she sometimes makes this at home. I will definitely have to try this! I rarely have dessert at Indian restaurants because I'm usually too full; however, it's included, I won't refuse it!
It was getting dark so this was the best shot of my rice pudding topped with almond.
One of my favourite Vietnamese dishes (and a rather labour intensive one) is bánh bèo. Bánh bèo is made up of small steamed rice flour cakes with a topping. The cakes can be served in individual dishes (bánh bèo chén) or laid out in a plate, and come in different sizes. I had many varieties when I was in Vietnam. The most commonly known is bánh bèo Huế because it originates from the ancient capital of Huế; it istopped with shrimp and eaten with fish sauce. However, there is another version that originates from Quảng Ngãi, where my mom comes from. These are made thicker because a sauce is served on the cakes. I also had a chance to try these when I was in Quảng Ngãi.
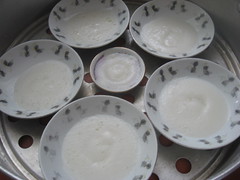
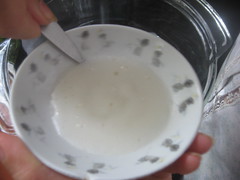
Bánh Bèo - Making the Cakes (Makes 40-50 cakes) Making the batter is not the intensive part of the recipe. It's steaming them in individual little dishes.It just takes some time. It's best to use little sauce dishes but as you can see below, my mom took out any small dishes that she owns. If you're lucky, you know someone who sells them. My mom does and sometimes orders them when she's lazy. It's sold in quantities of 50 or 100.
* ½ lb rice flour * 2 tbsp tapioca flour * 2-¼ cups water * 1 tsp vegetable oil Mixthe flours together in a large bowl. Slowly addwater while mixing, to prevent lumps. Addthe vegetable oil and mix in. Set upa steamer and place dishes you will be using. Spoonabout 1 tbsp of batter (a bit thicker for the sauce topping). Steamfor about 4 minutes. Remove the cakes with the help of a small knife and place them in a large bowl. Repeatagain and again until you run out of batter.
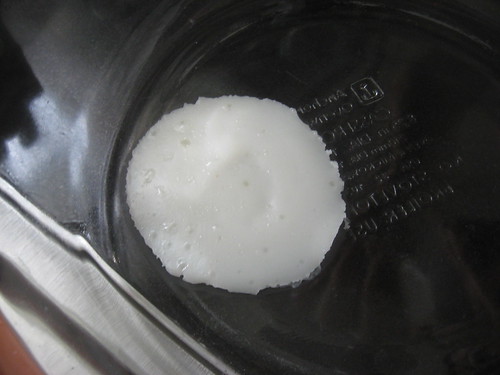
My mom says the perfect bánh bèo should have a small circular valley in the middle, like the smallest dish in the middle of the steamer.
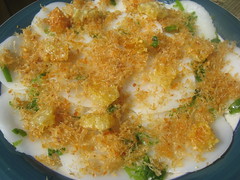
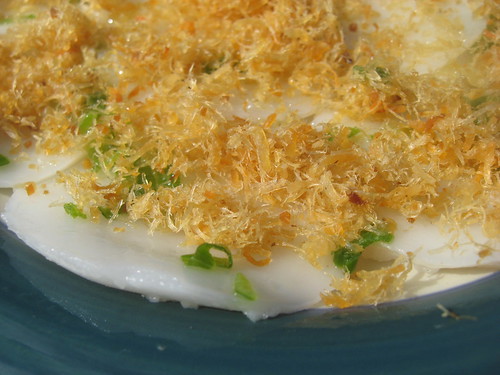
Bánh Bèo Huế Even though I'm from Quảng Ngãi, I prefer bánh bèo Huế. I love every component of this dish: the delicate bánh bèo, the salty, shredded shrimp topping and everything doused in fish sauce. The cakes are also usually topped with deep fried pork rind, which adds a nice crunch.
Shrimp Topping The shrimp topping can be made with fresh or dried shrimp. My mom always makes it with dried shrimps. Using fresh shrimps would follow a similar process, cooking them until they are dry.
* 1 package dried shrimps * water * oil * ½ onion, sliced thinly
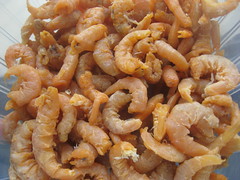
Soakthe dried shrimps for an hour to hydrate them and drain them. Heat upoil in a pan. Sauté shrimp and onion slices, until the shrimps have dried up again. Shredin a food processor until you obtain orange strings of shrimp goodness!
After soaking in water and cooking with onion.
Pork Rind Topping Traditionally pork rind is used for the crunchy topping but I've also seen it being replaced by pieces of deep fried bread (similar to croutons).
* oil * sheet of pork rind, cut in little cubes Heat upa good amount of oil in a pan. Deep frythe pieces of pork rind and drain on paper towel.
Sheet of pork rind, deep fried.
Putting it all together * bánh bèo * hành mỡ (scallion oil)shrimp topping * pork rind toppingnước chấm (dipping fish sauce) Placebánh bèo on a plate, slightly overlapping them. Spreadsome scallion oil on the bánh bèo. Distributethe shrimp topping on top of all the bánh bèo. Sprinkle the pork rind topping. Addfish sauce and dig in.
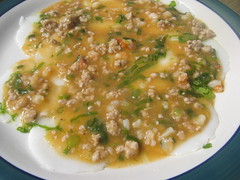
Bánh Bèo Quảng Ngãi While I admitted preferring bánh bèo Huế, it's nice to be able to be able to have... both! I think this is my mom's favourite of eating bánh bèo. It's more of a sauce than a topping, and so, I think, makes it a more comforting dish. My mom likes making a thicker bánh bèo to hold up to the sauce. When she orders them, she'll ask that a few be made thicker and makes the sauce herself. * 1 tbsp oil * 150 g ground pork * 50 g shrimp, finely chopped * 1 bunch of green onions – white and green parts separated * 2 tsp salt * 1 tbsp sugar * 1 can lobster paste (or shrimp/crab paste), about 3 oz * 2 cups water * black ground pepper * 2 tbsp tapioca flour (or cornstarch)
Sautéthe white parts of the green onion, shrimp and pork in oil. Add the salt and sugar and mix. Stir in the lobster paste. Add water. Seasonwith ground pepper. Bring to a boiland turn down the heat. Add tapioca flour dissolved in ½ cup water. Stir inand mix in green onions. Cookdown to desired consistency (it should be a bit runny). Add the sauce onto a plate of bánh bèo. Tada! Ground pork and shrimp for the sauce.